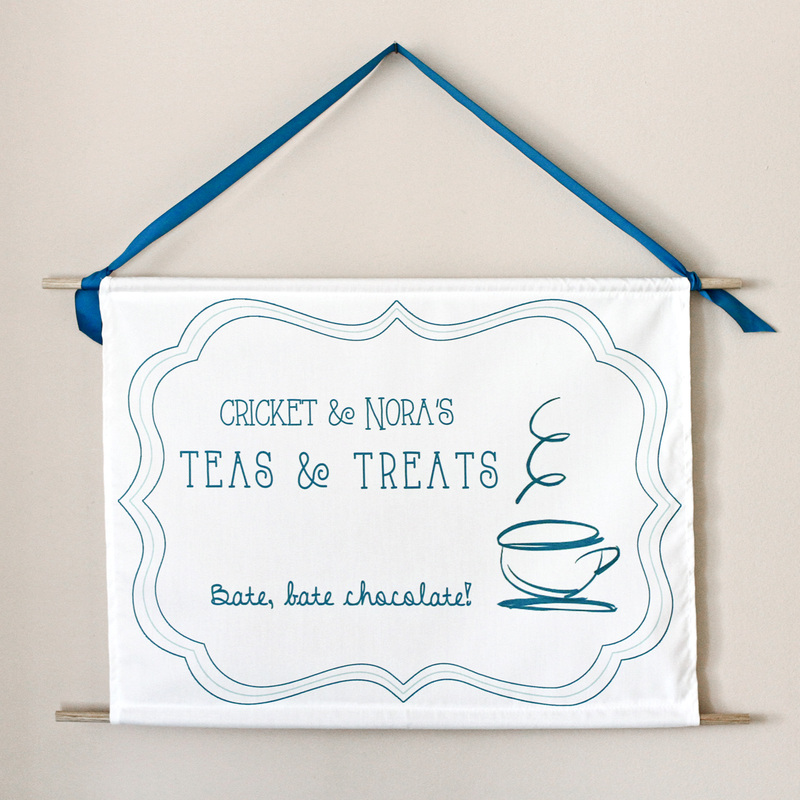
The girls' play kitchen is tucked into a corner of our living room and always seems a little lonely amidst all the "real" furniture. So I decided to make a hanging sign to add some life to the blank wall above the kitchen and transform the beloved toy into a tea shop. (The shop motto is "Bate, bate chocolate!" which means: "Stir, stir the chocolate!" It's a quote from a Dora the Explorer, which Cricket always says while mixing concoctions in the kitchen.) Here's how to make a hanging sign for your budding entrepreneurs. Supplies: 2 dowels (cut slightly wider than the sign) Ribbon Fabric Hammer Nail Optional: Sewing machine for hem iPad/computer/Photoshop or other design program 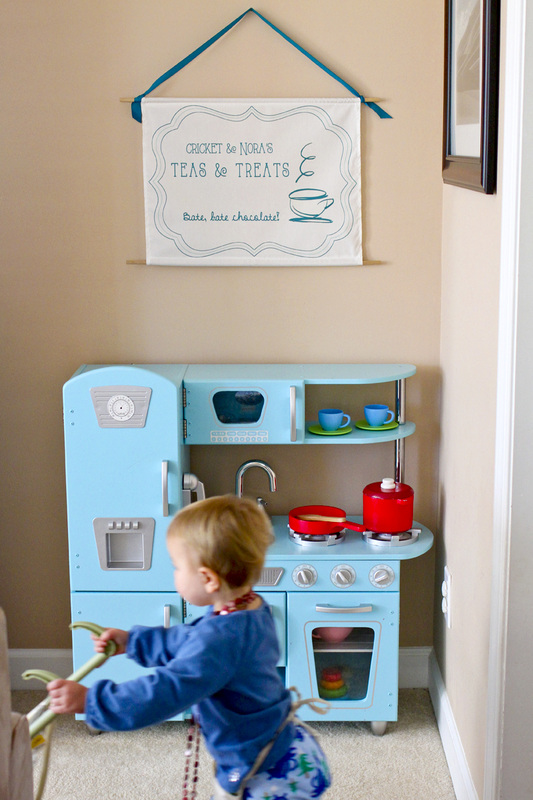
I drew the tea cup on my iPad using Paper 53, then added the border and text on my computer using Photoshop. I sized the file (18x21 inches) so I could make the sign by ordering one "fat quarter" of fabric from Spoonflower. To simplify, you could skip this step and draw the sign by hand.
When the fabric arrived, I hemmed the edges with my sewing machine, leaving a narrow pocket on the top and bottom to slide the dowels in. I cut the dowels (okay, okay, I had Jeff cut them) so they were about 1-1.5 inches wider than the sign on each side. Then I put a nail in the wall, tied the ribbon onto each side of the top dowel and played around with the ribbon length until I had it right. Et voila: a hanging sign! Click here for more DIY ideas. You can also check out my Getting crafty and Activities for little ones Pinterest boards.
0 Comments
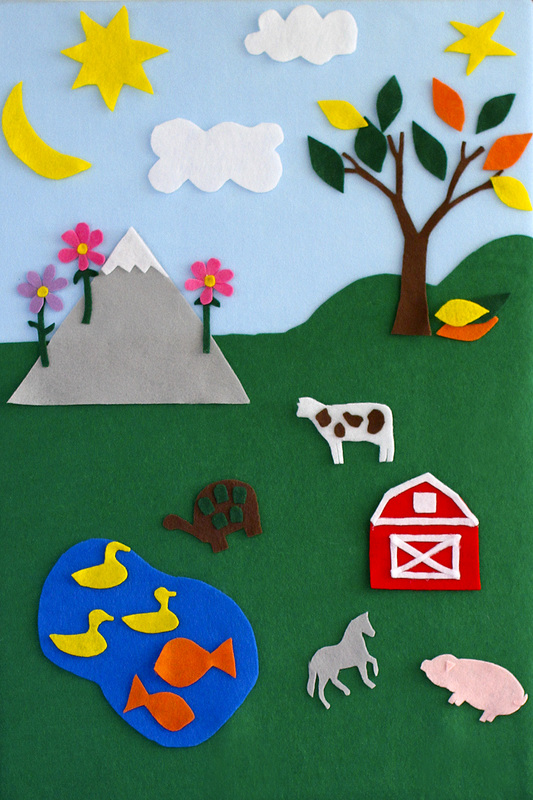 I'm always on the lookout for activities that both the girls can enjoy and only require so much clean-up on my part. A felt board seemed like just the thing, so I made them a very simple one for Christmas based on this elaborate one, which caught my eye on Pinterest. 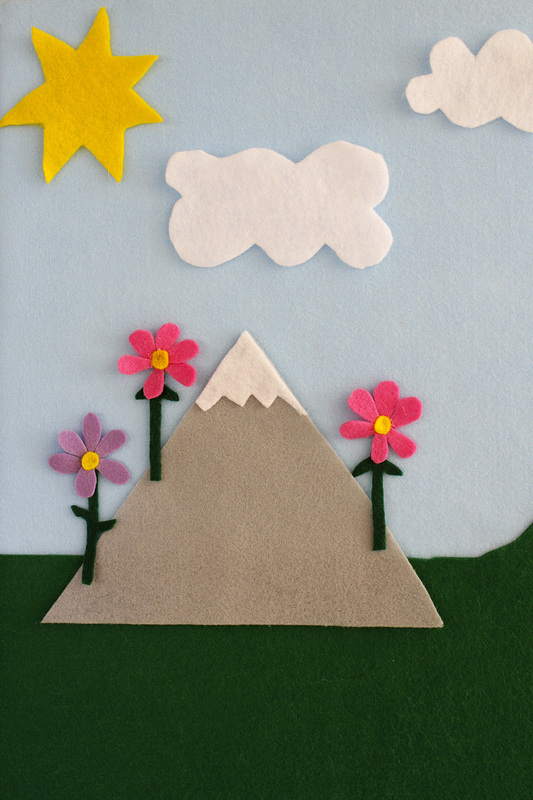 Supplies: 2 pieces of foam board (or canvas or heavy cardboard) hot glue gun glue sticks scissors felt in a variety of colors (8.5x11 sheets or larger pieces cut from bolts) 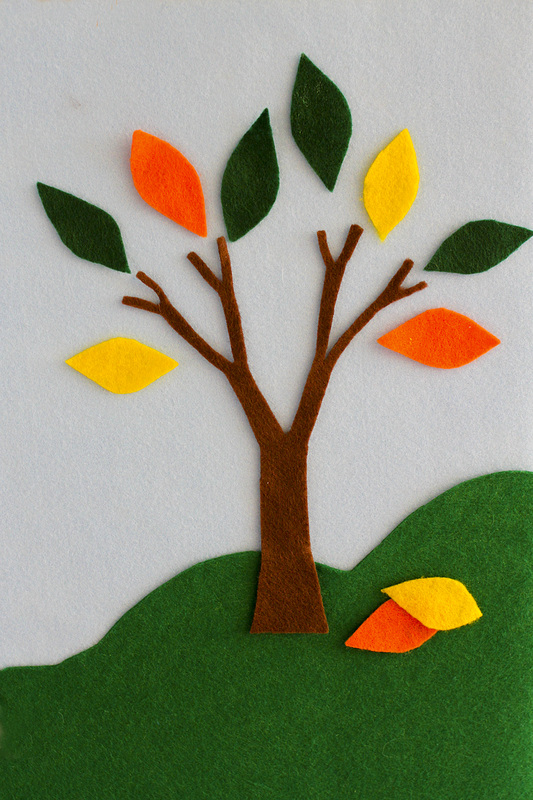 I used 20x30-inch foam board, so it would fit onto the shelf of our easel, and hot-glued two pieces together for stability. Then I wrapped large pieces of felt around the board for blue sky and green grass and glued them to the back. After that, I went to town cutting out some basic items the girls could place on the board. (Don't feel like the pieces need to be perfect—the kids could care less and will probably lose or eat half of them within a few days anyway. I freehanded everything except the cow and the horse, which were way beyond my drawing abilities.) I glued a few things, like the mountaintop, barn and flowers, but most items are just single felt pieces. Now we can add more animals and details at the girls' requests. 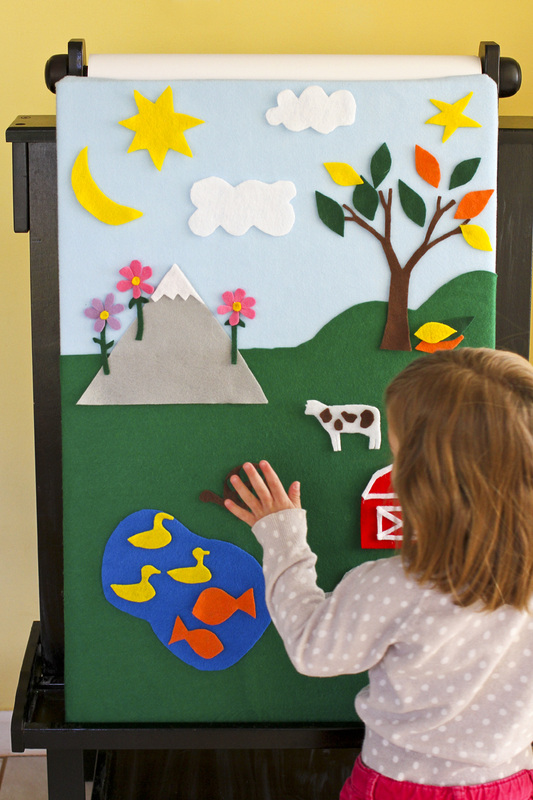 Click here for more DIY & events inspiration.
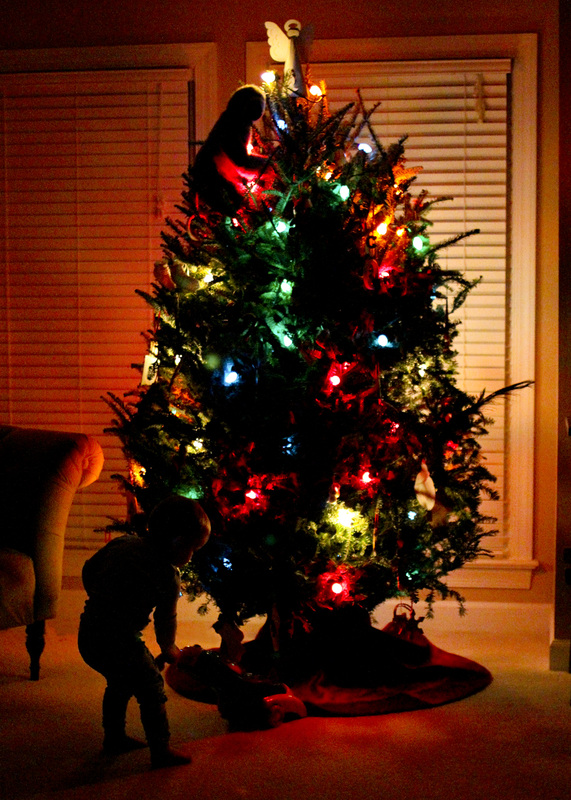 The holidays already seem like a distant memory, which means I'd normally be feeling caught in the doldrums of winter by now. But we have so much to look forward to during these cold months ahead: a visit from my entire immediate family (there are 15 of us now!), my sister's Colorado wedding and a trip to Florida to celebrate the 85th birthday of Jeff's grandmother. Instead of sighing and counting the days until next Christmas as I sift through these photos, I'm looking forward to the adventures on our immediate horizon. It's a good feeling. Above: Just a traditional Christmas Eve...tree vacuuming session? Below: After a busy year of travel, we opted to stay home for the holidays. I'll admit pangs of sadness at missing a white Christmas with family in Minnesota but, really, I couldn't complain; you'll note the short-sleeves.   We explored old places and new, like Prairie Ridge Ecostation. 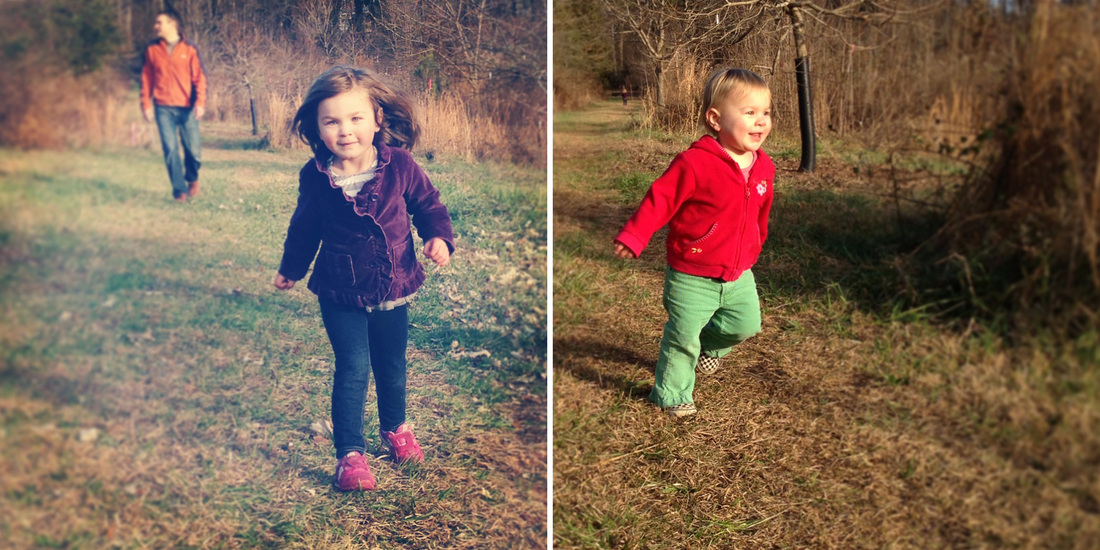 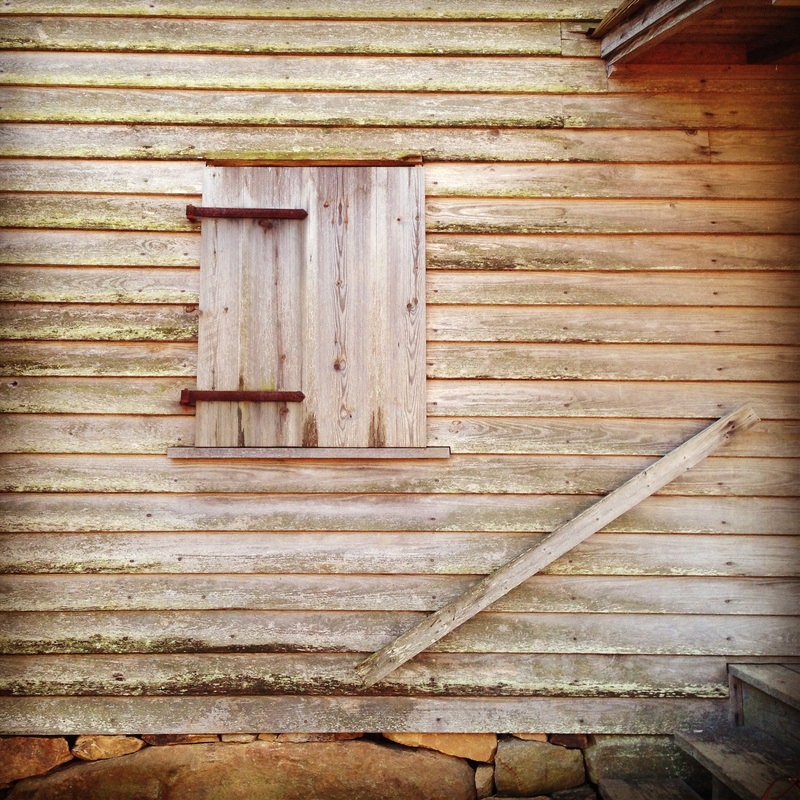 We strolled along the creek and drummed our hearts out at the museum. 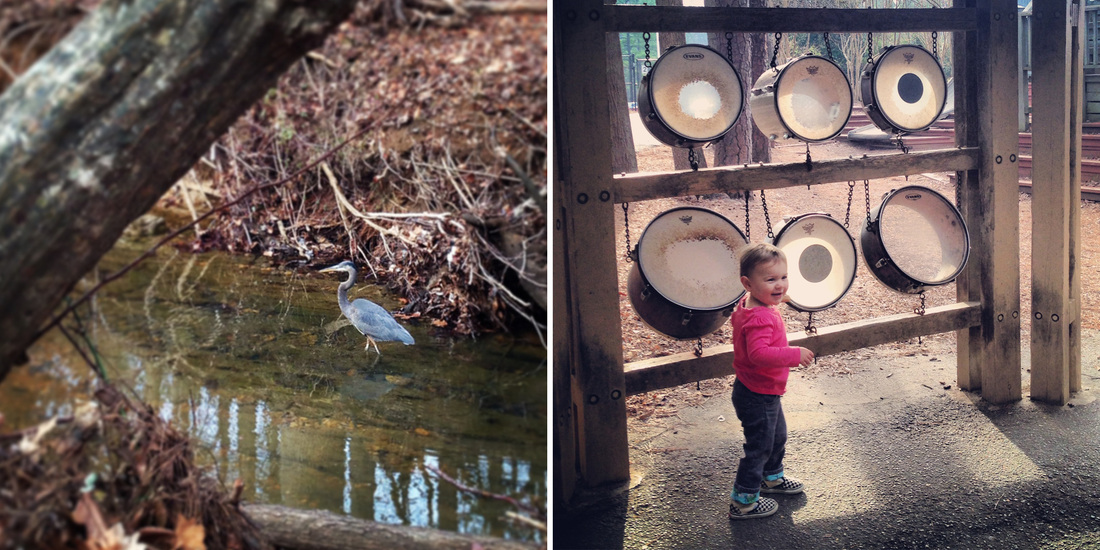 We baked, decorated and ate cookies. So very many cookies. And the toddlers decorated the Christmas tree. 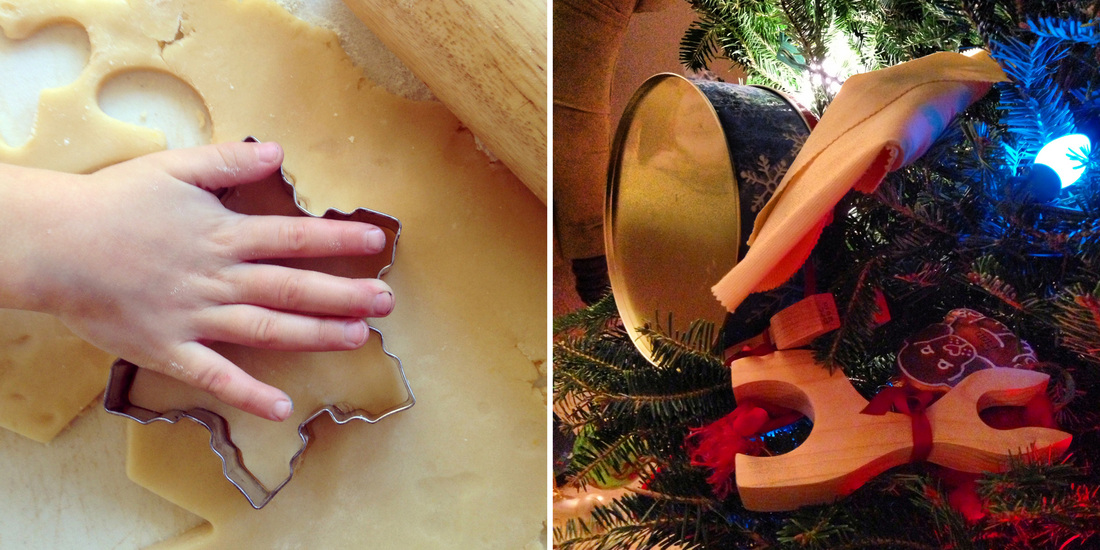 My uncle made us each a beautiful monogrammed stocking ornament. Cricket immediately took charge of hanging them ever so gingerly...all on the same branch. 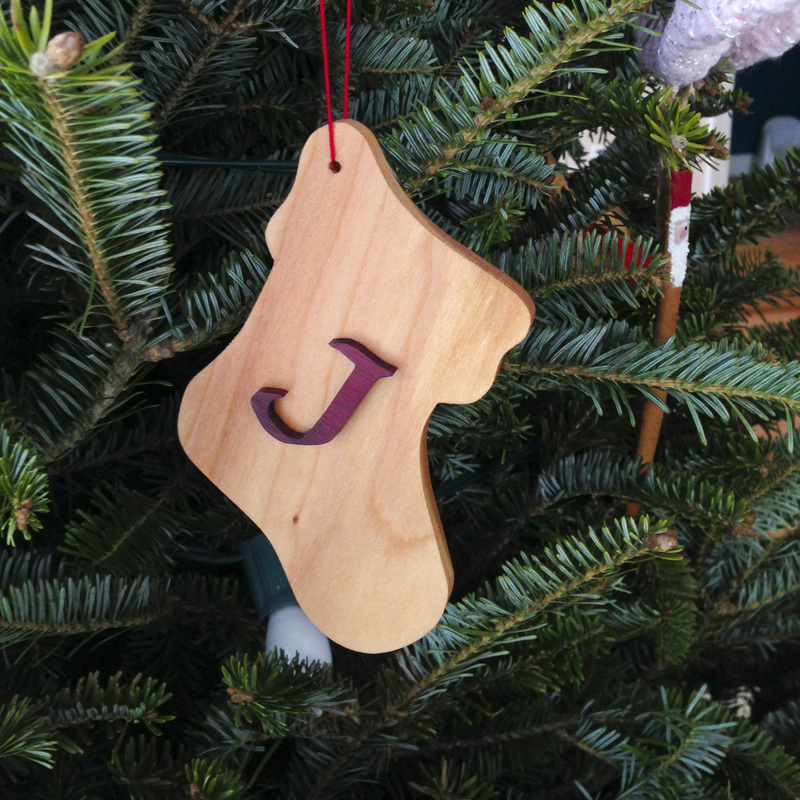 We got obsessed with cameras(!) and tractors. 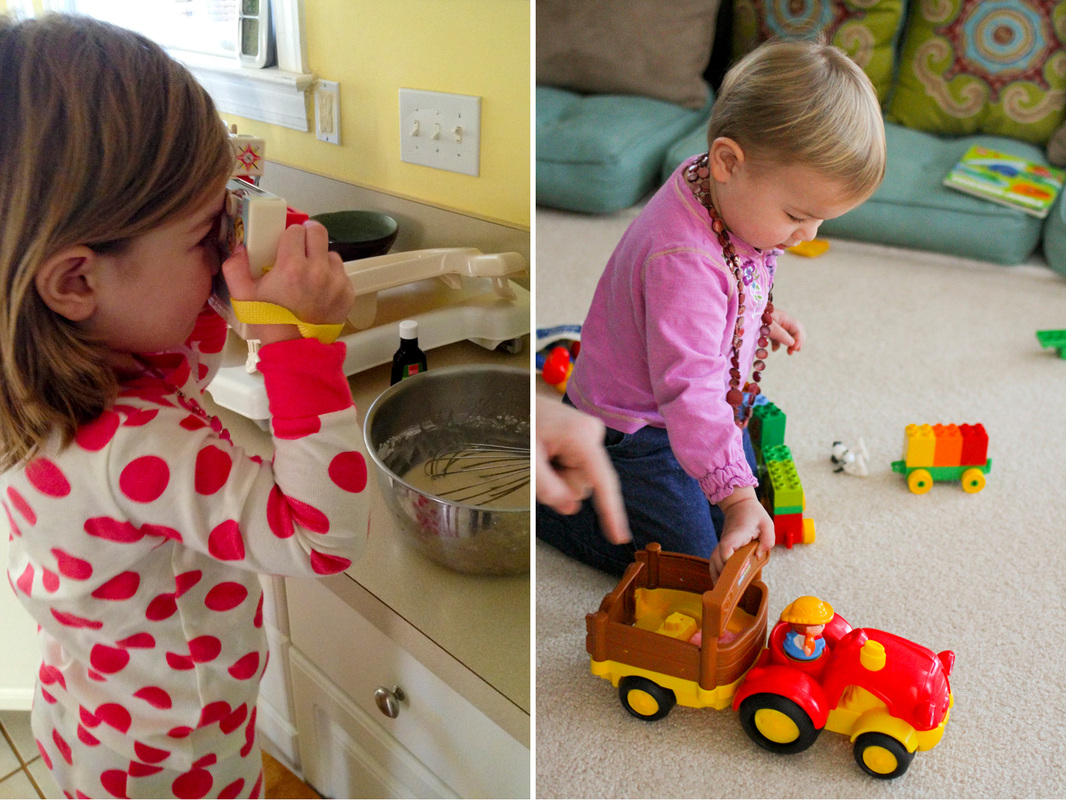 We decked ourselves in new garb and discovered the joy of tearing open gifts, whether they were addressed to us or not. 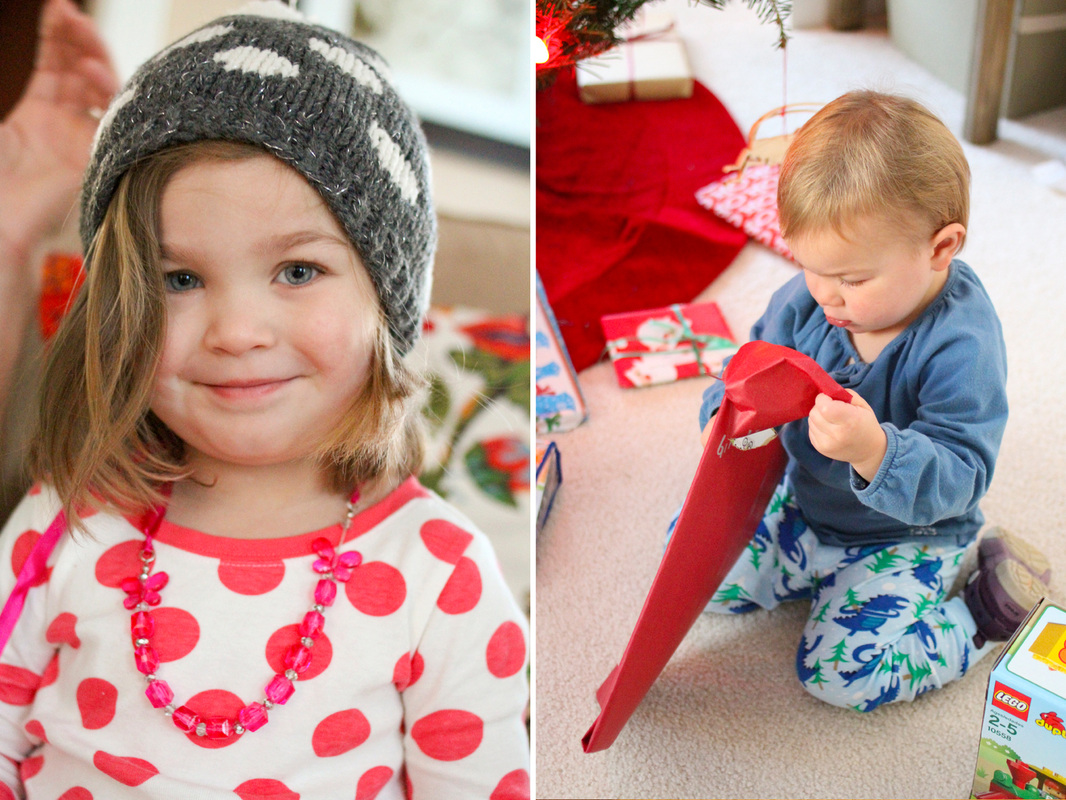 Two of my DIY gifts for the girls included a sign for their play kitchen and a felt board. I'll be posting more on these items over the next few weeks. 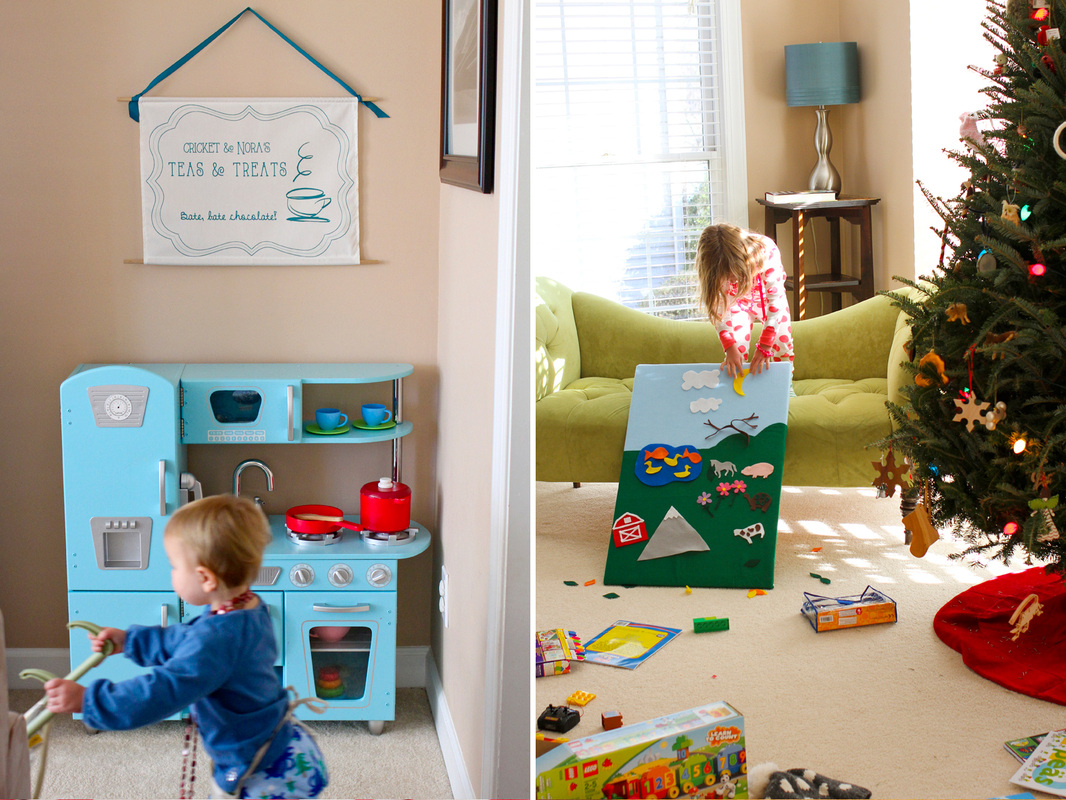 Click here for more DIY & events posts.
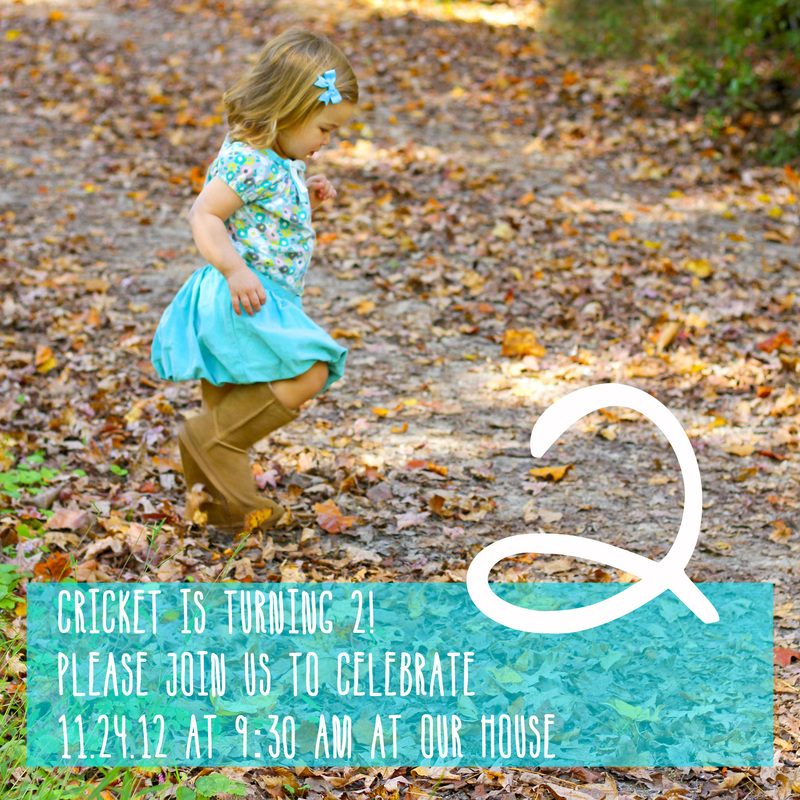
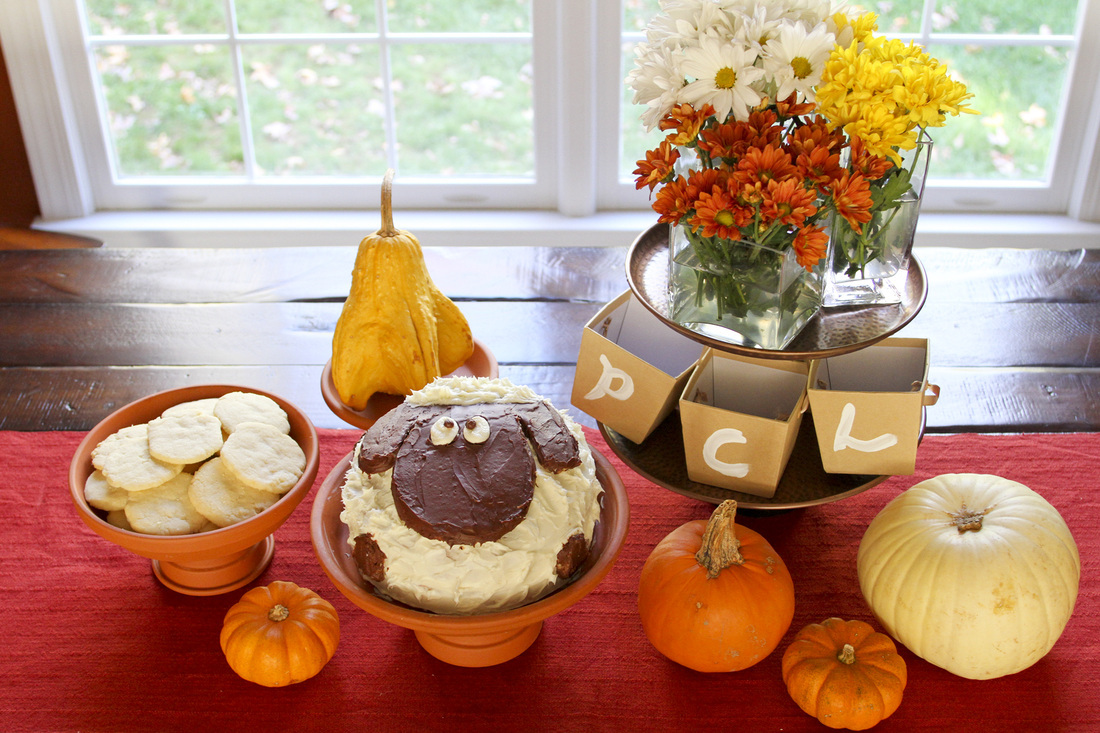
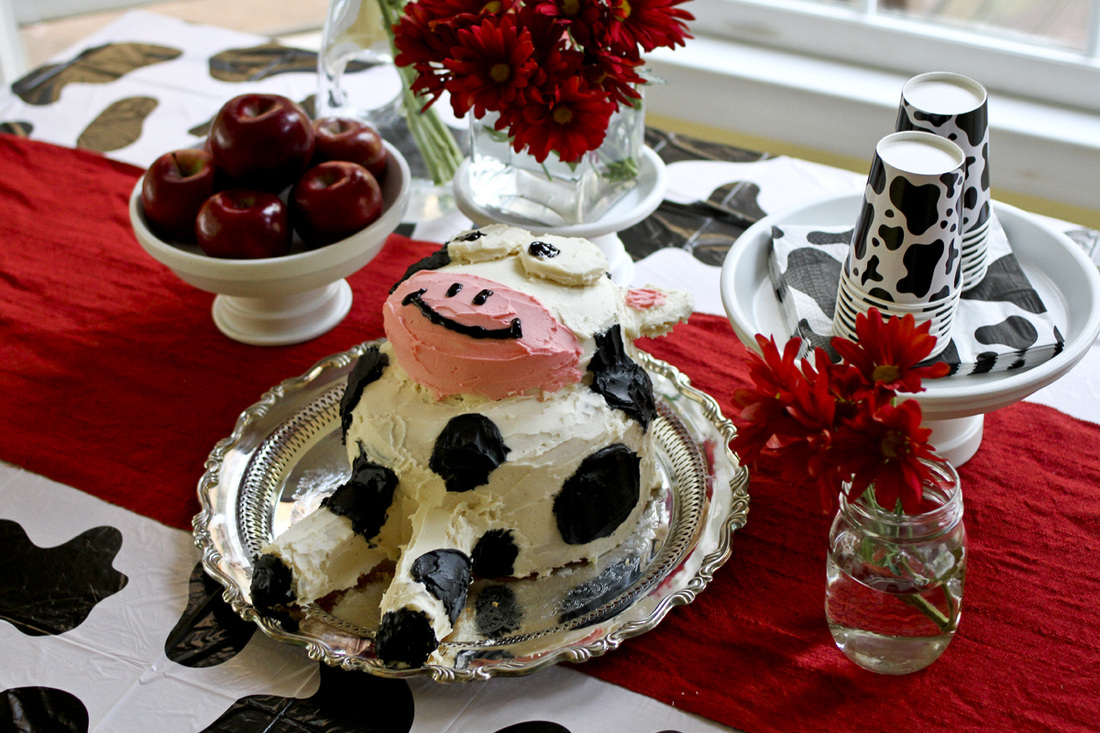 Thank goodness I had experience in barnyard cake design after last year's sheep cake, because Cricket demanded a cow theme for her 3rd birthday. 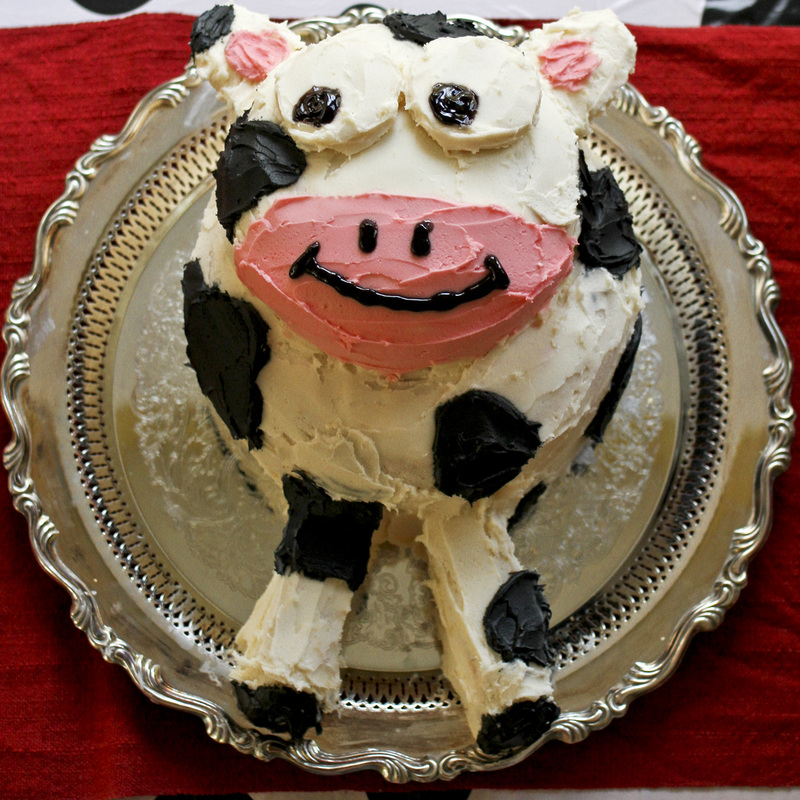 She requested we invite her cousin, Iris, and her best from preschool (Ahh! It melts my heart that she has a best friend at school...), but even with a small and familiar group, she was feeling shy and didn't want us to sing Happy Birthday. 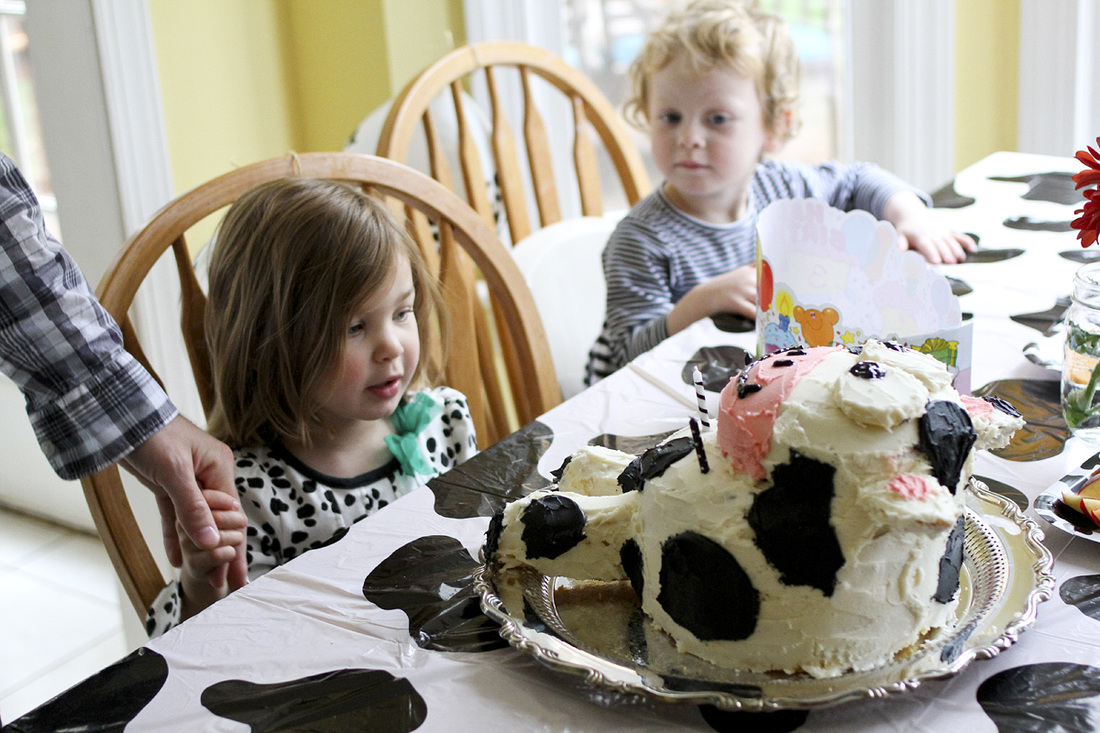 However, not even her shyness or anyone else's could have kept the kids from gobbling up the cow cake. (Thanks to by brother-in-law, Christo, for helping with party photos, by the way.) 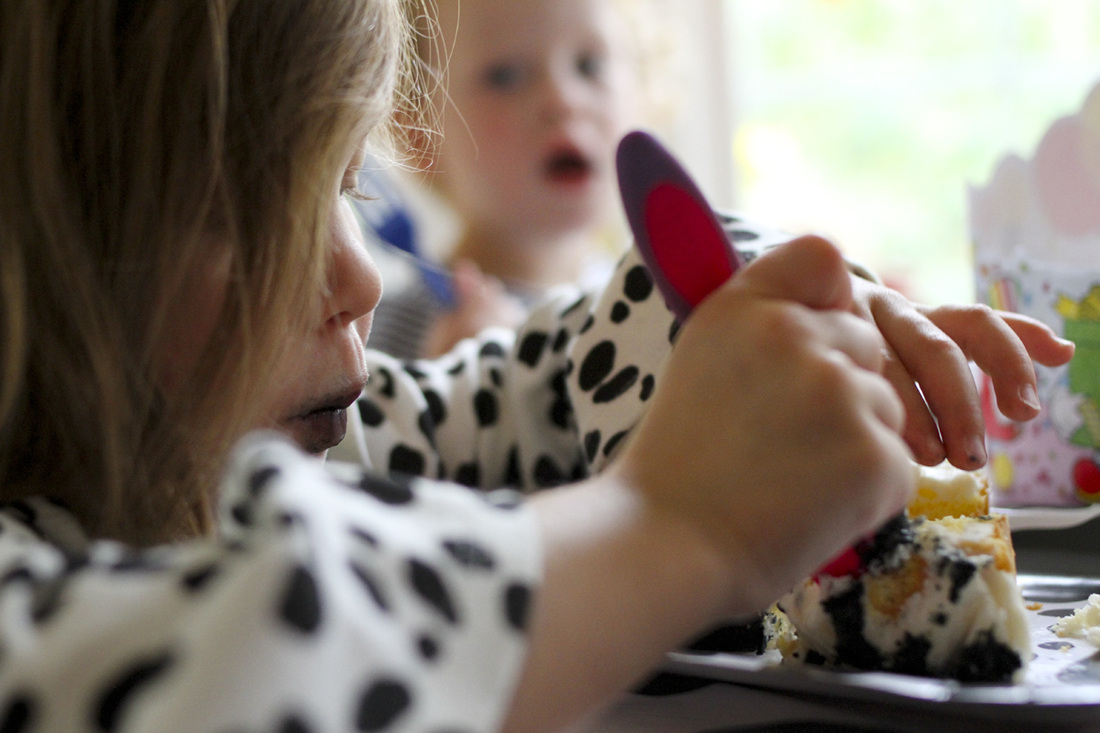 Or decorating felt cows... 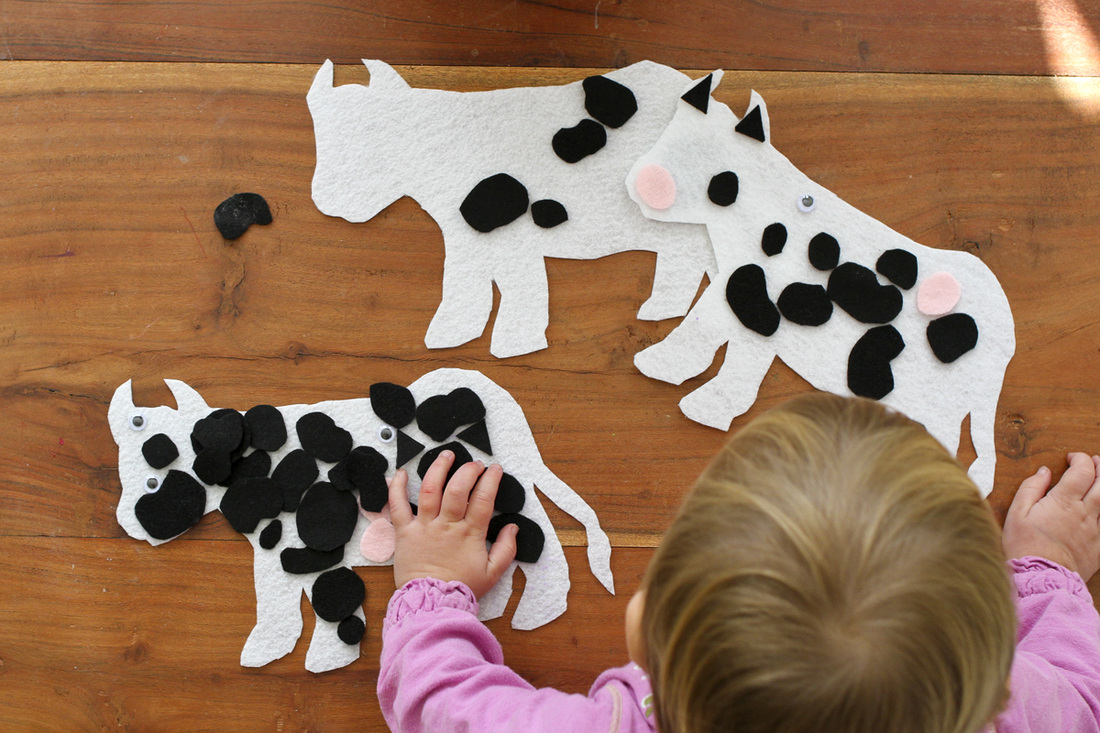 Cricket loves art projects, so her big gift was an easel. She hasn't stopped painting since it arrived! 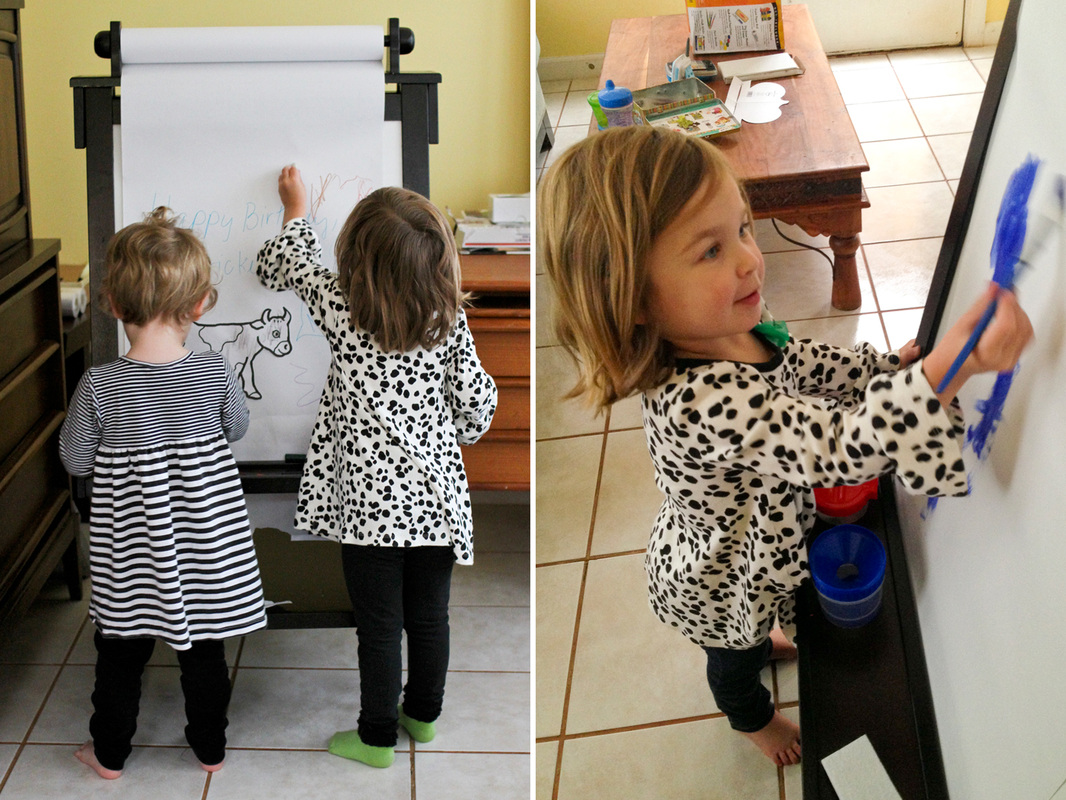 I couldn't help including a few pre-party birthday photos. Left: The day she celebrated her birthday at school, cow dress (which Jeff's mom found for her), ladybug boots and all. Right: Jeff acting thrilled to be cutting out felt cows... 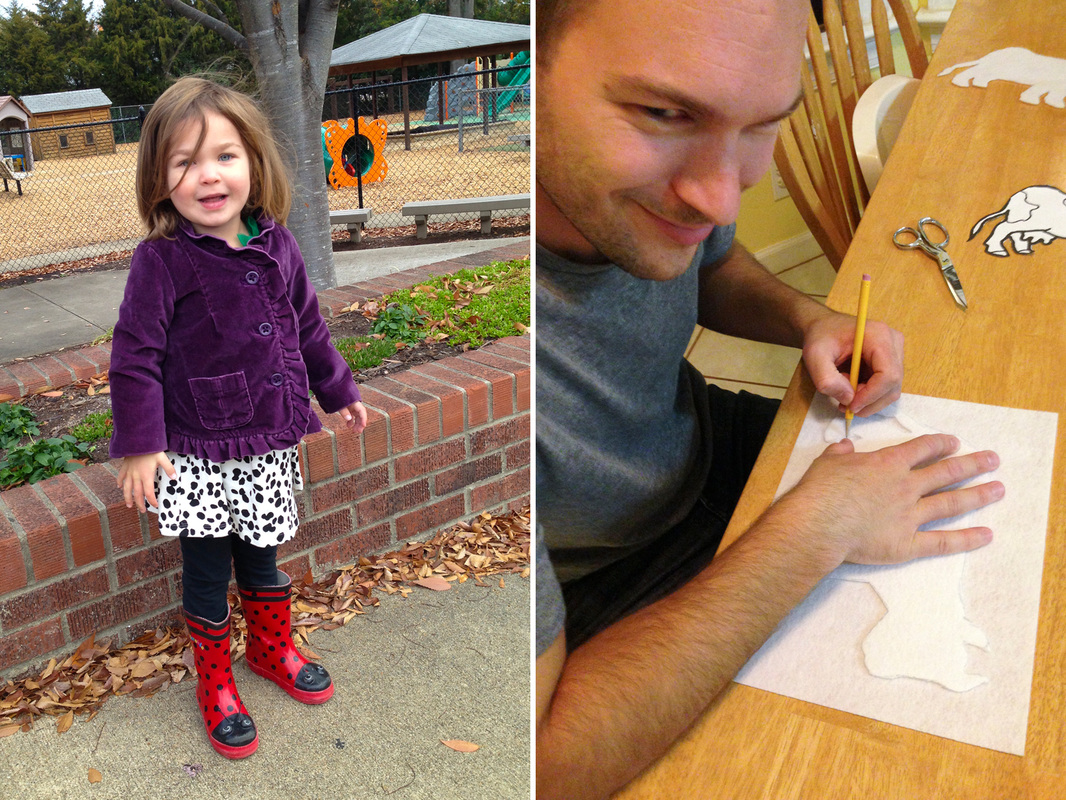 And in case you missed her birthday invitation: 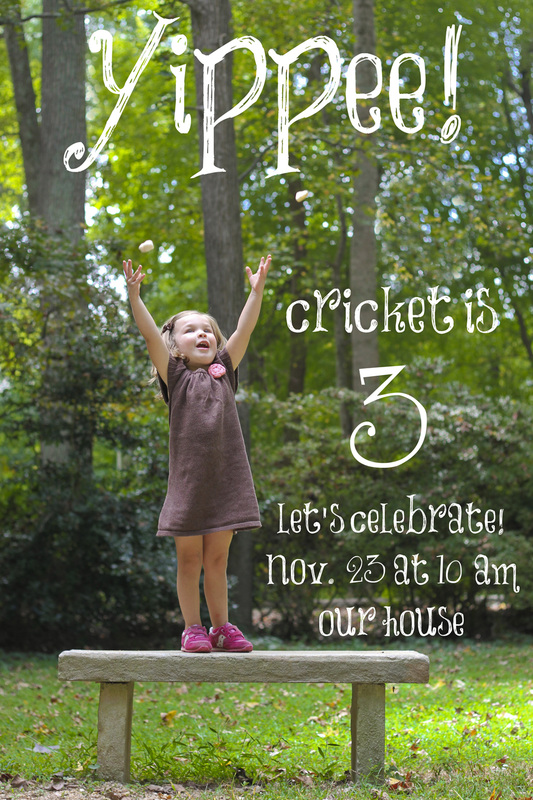 You can find Cricket's 3-year-old portraits here.
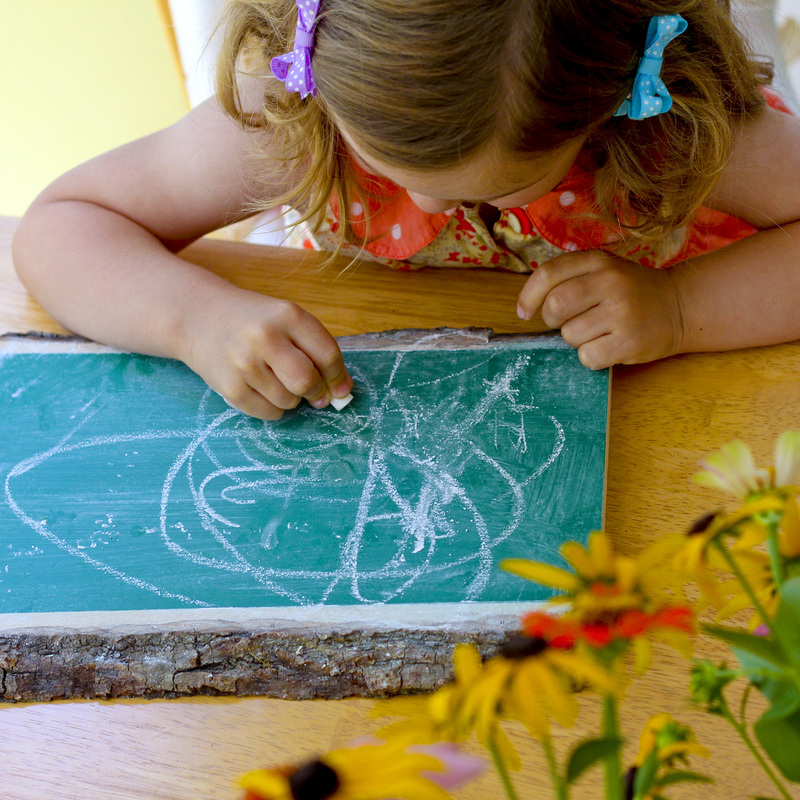
This week I mailed so many invitations and holiday cards that I could be an honorary postal worker. With those projects off my plate, I'm finally getting serious about holiday gifts. How about you? Whether you're a die-hard gift maker or more of a shopper, I've rounded up some of my favorite projects of the year for inspiration. Above: This tablet chalkboard is great for a doodling kid or list-making adult. Below: Impress your friends and family with your basic sewing skills by making this DIY braided scarf. 
Have a toddler on your gift list? I created two custom board books this year, which have been very popular with my little ones: a family album and a themed counting book. 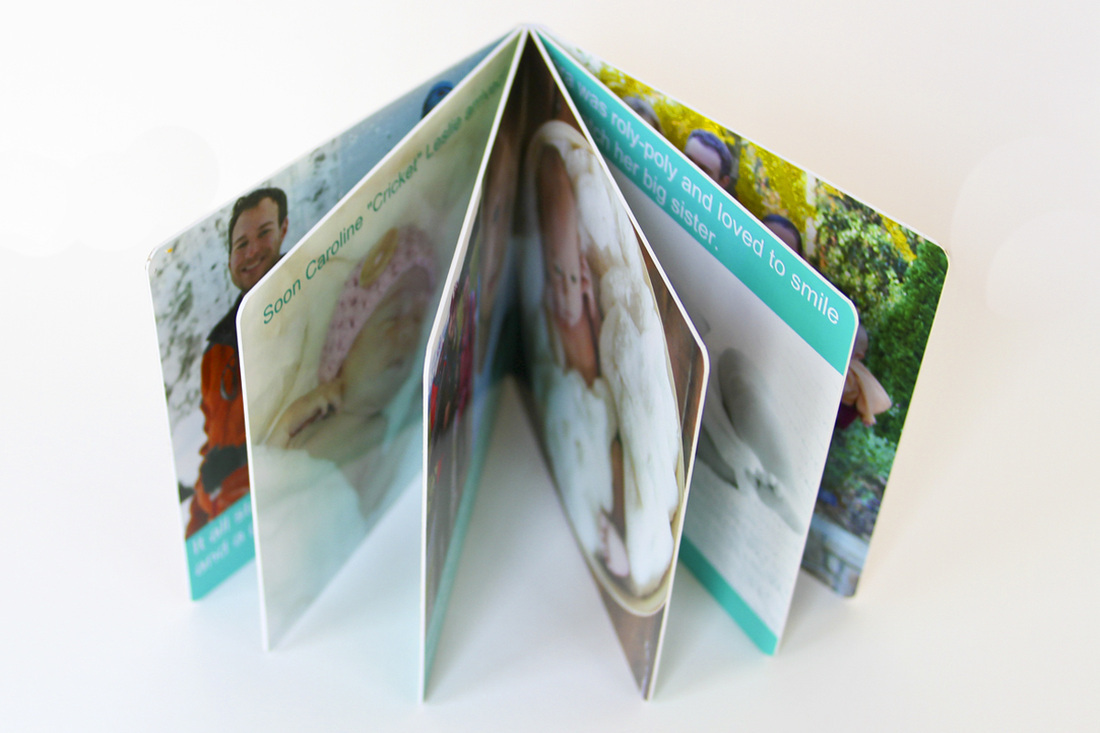
If you'd like to purchase a copy of "Counting at the Museum," send me an email. 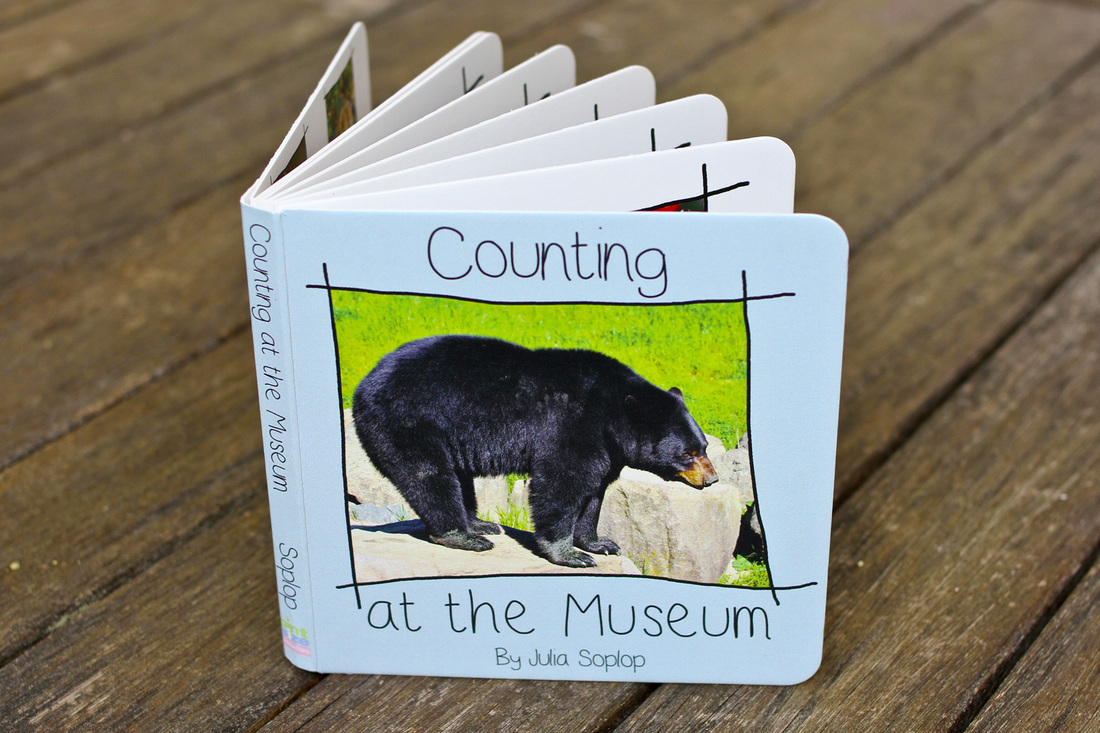
I also spent time this year learning how to design fabric patterns, some of which are available for purchase in my Spoonflower shop. Custom tea towels make fun and easy gifts. Here's some inspiration: lavender tea towel, buzzing bee tea towels and mountain play fabric. 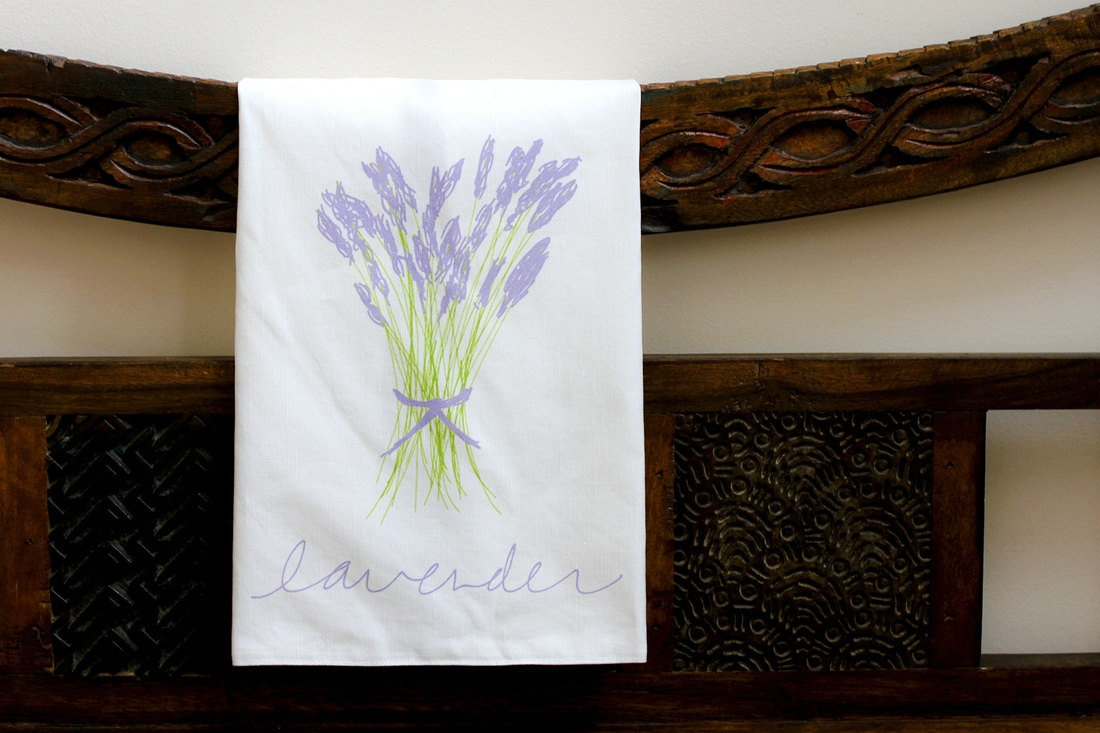
Calm Cradle Photo & Design nature photography products are available here. Keep an eye out for discounts and free shipping offers this month. Most images are available as prints, framed art, stretched canvases, stationery notecards, pillows, tote bags and iPhone/iPod/iPad/laptop cases and skins. 
Does anyone on your gift list have kids or a baby on the way? Consider Calm Cradle Photo & Design gift cards, which can be redeemed on portrait sessions, portrait artwork and any custom nature photography products ordered directly through me. (You can purchase general Society6 gift cards here, which can be used to purchase Calm Cradle Photo & Design nature photography products from my shop on Society6.) 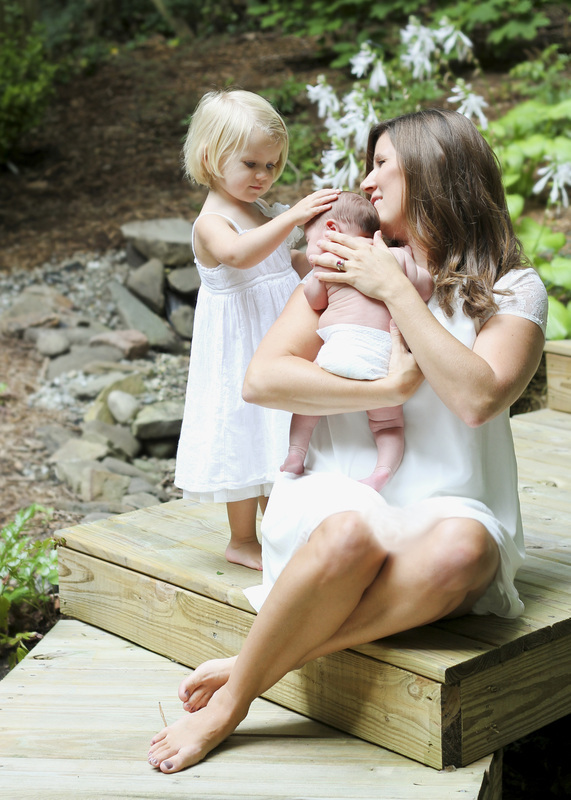
And don't forget to check out last year's round-up. 
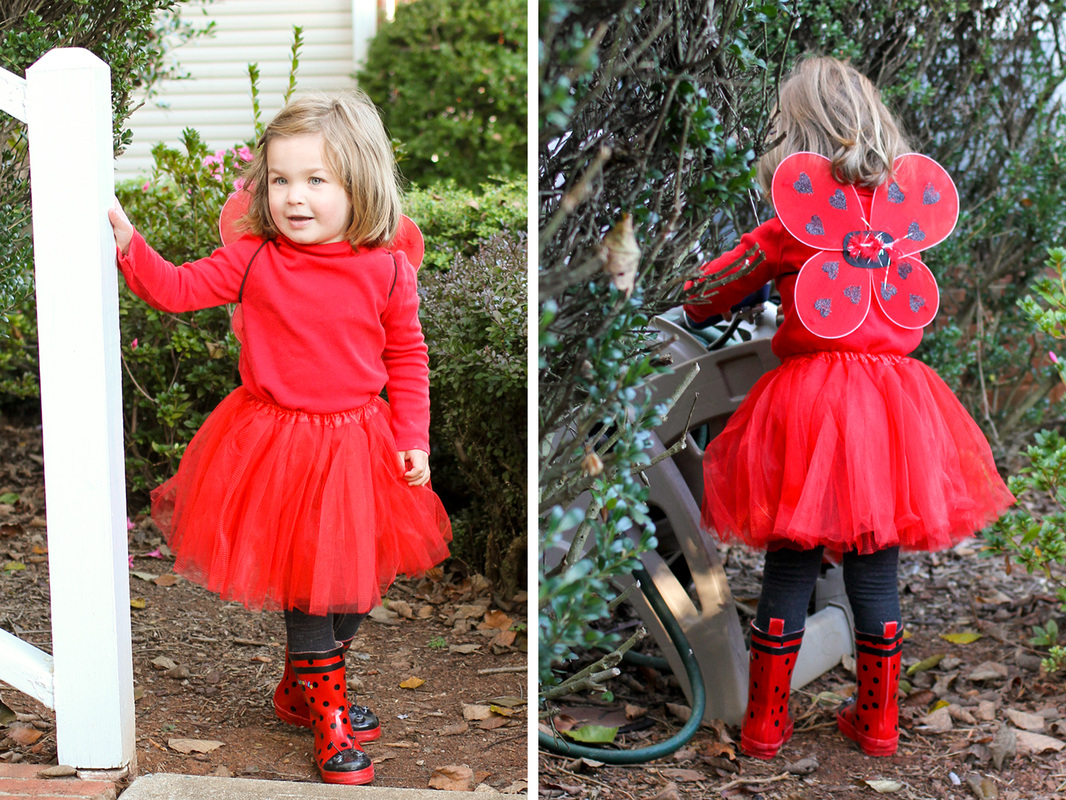
Happy Halloween! This year Cricket wanted to be Ladybug Girl from her favorite book series, and I decided to transform Nora into a little peacock. Cricket's costume is compiled of: ladybug rain boots, old black jeggings from Target, a discounted tutu and wings from Zulily and a consignment sale shirt. 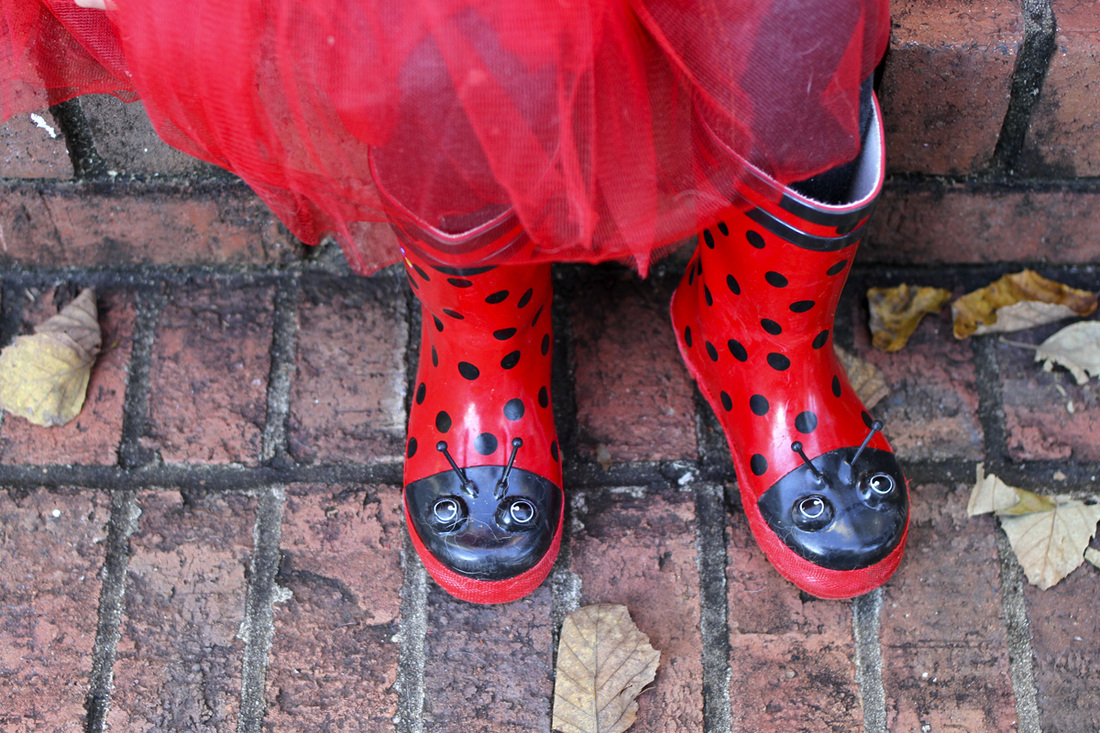
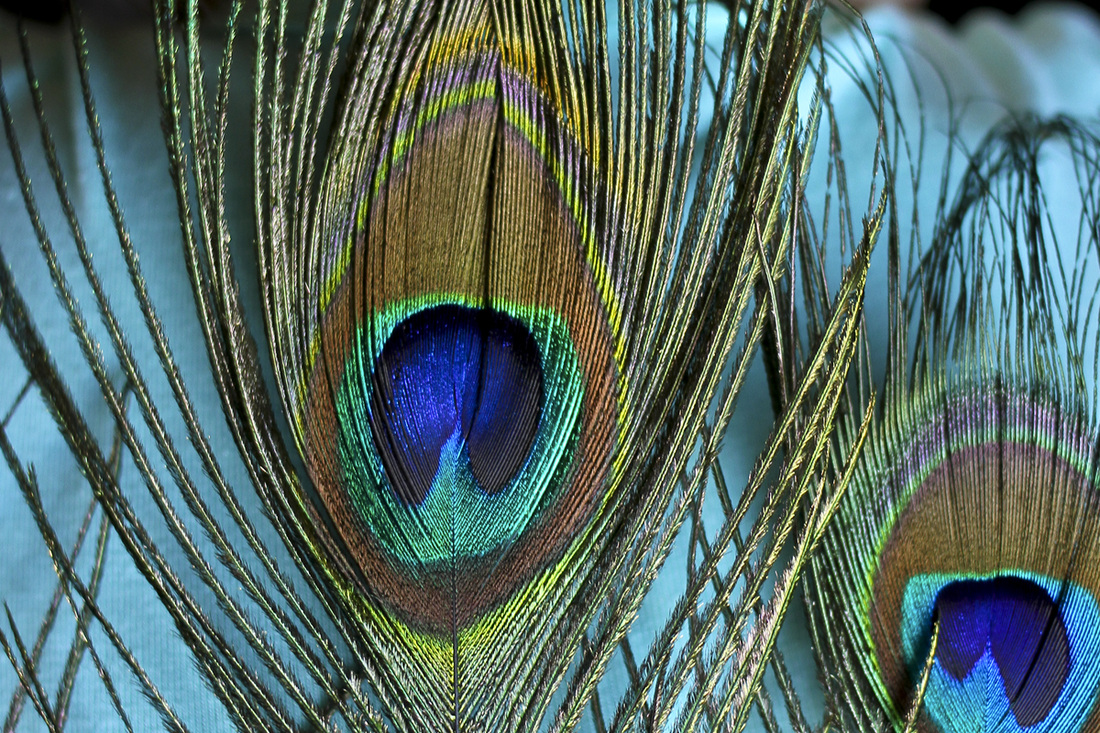
Nora's costume includes: a ruffled onesie from Zulily, sparkly leggings from Target, Saucony shoes and peacock feathers and ribbon from Michael's. 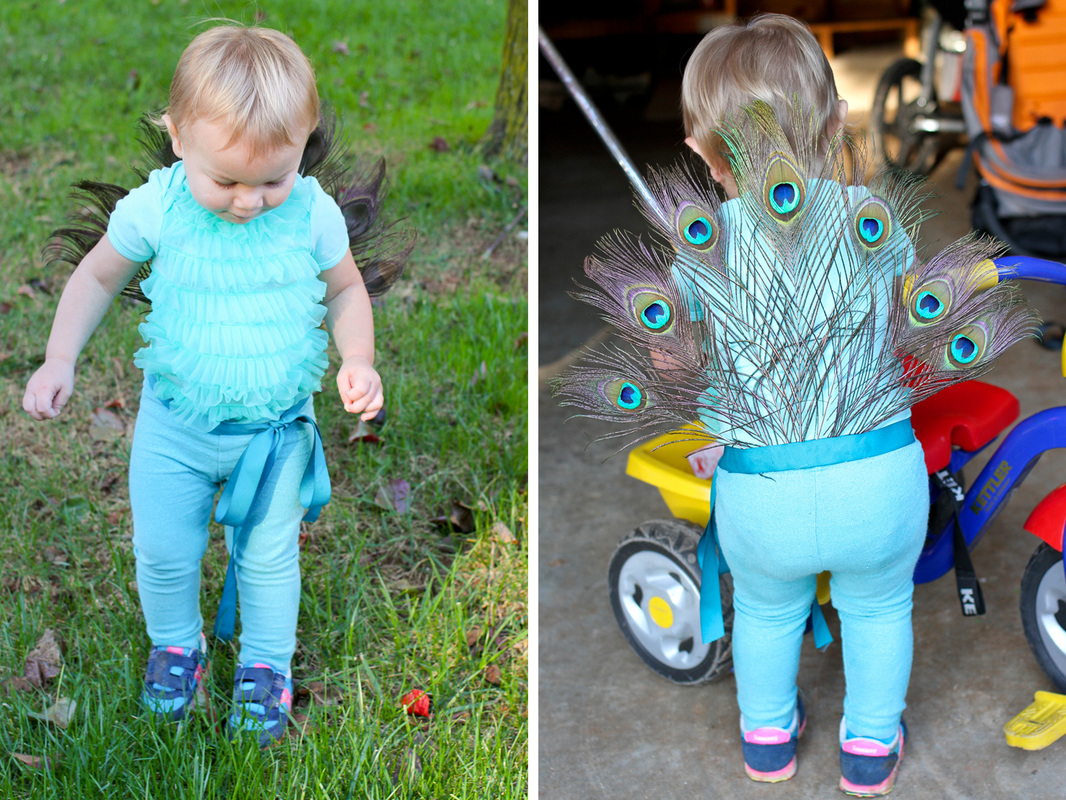
To make Nora's tail, I cut the feathers to different lengths to create a fan shape, then used a hot glue gun to adhere them to the ribbon. I glued an additional piece of ribbon over the feathers, so they wouldn't poke her in the back. Amazingly, she agreed to wear the tail! 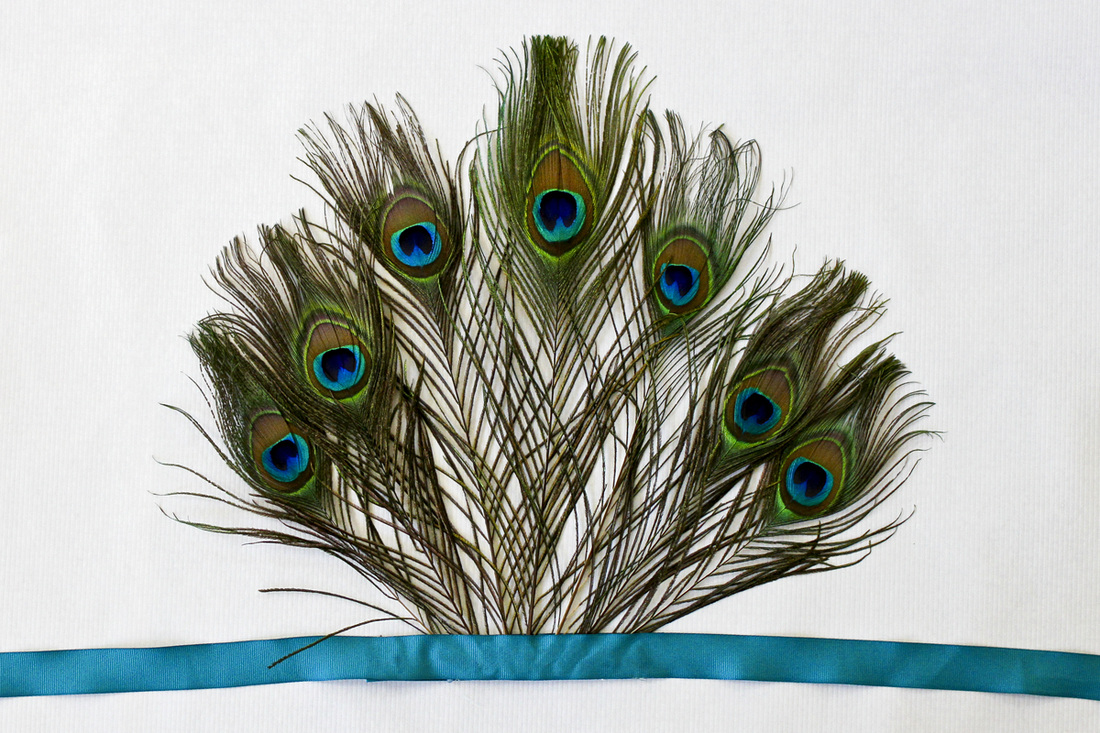
Click here to see last year's "A tale of the dragon and her almost-goat."
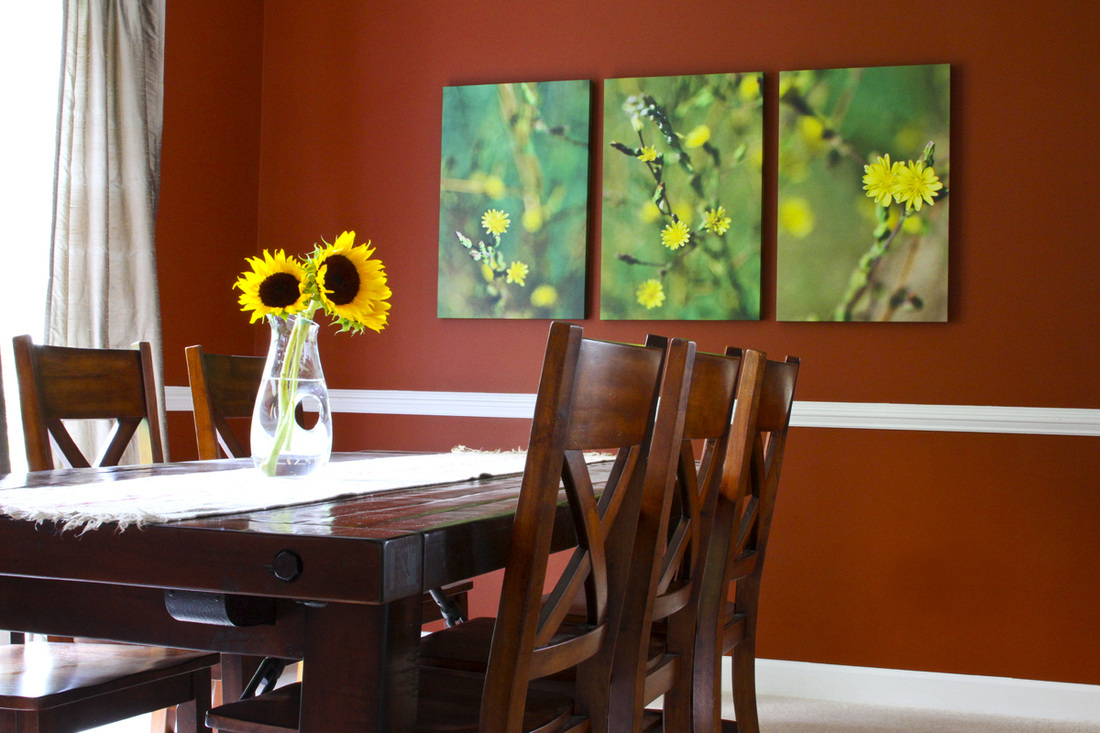
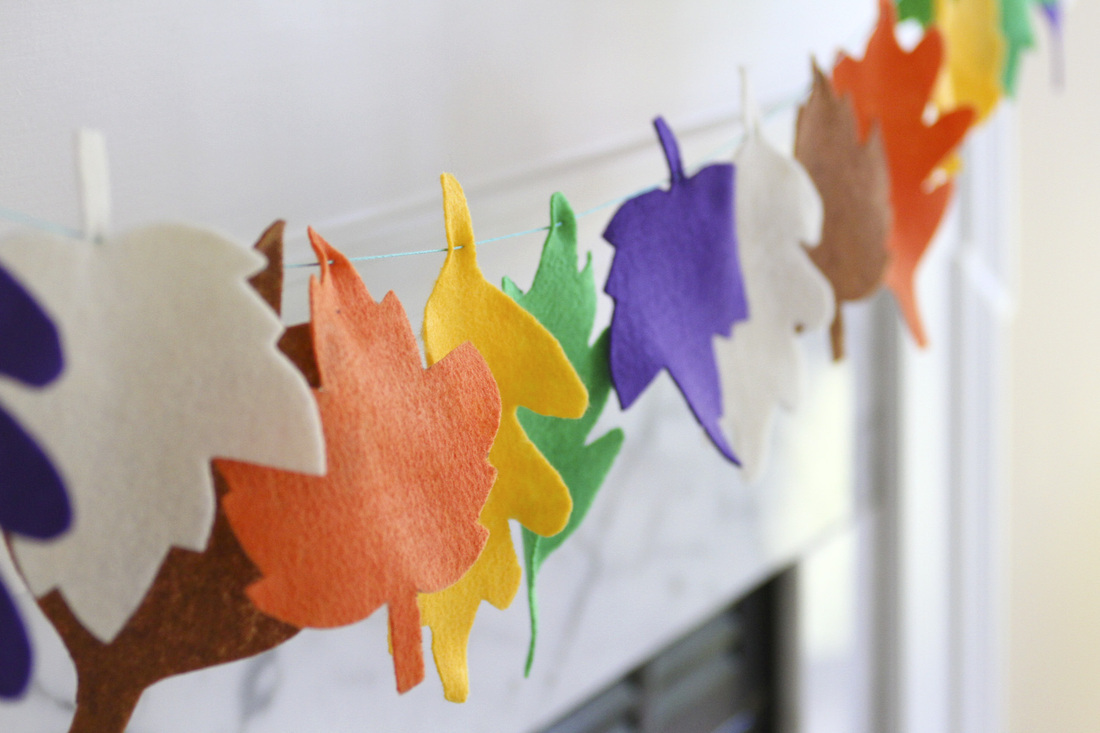
Fall always spurs my creativity. Perhaps it's the fresh, crisp air regenerating brain cells fried in the 100-degree heat of summer. Or the shifting quality of light that transforms late afternoon into gold. Or the approaching holidays. Whatever causes this burst of ideas and energy, I'll take it. Do you feel the same? Here's a round-up of fall DIY projects from the last year to get you started. Above: This post is actually about pulling together a series of artwork. But I had to include the photo since it always looks like fall in my dining room, which makes me happy. Below: Simple candle and coffee bean centerpiece. 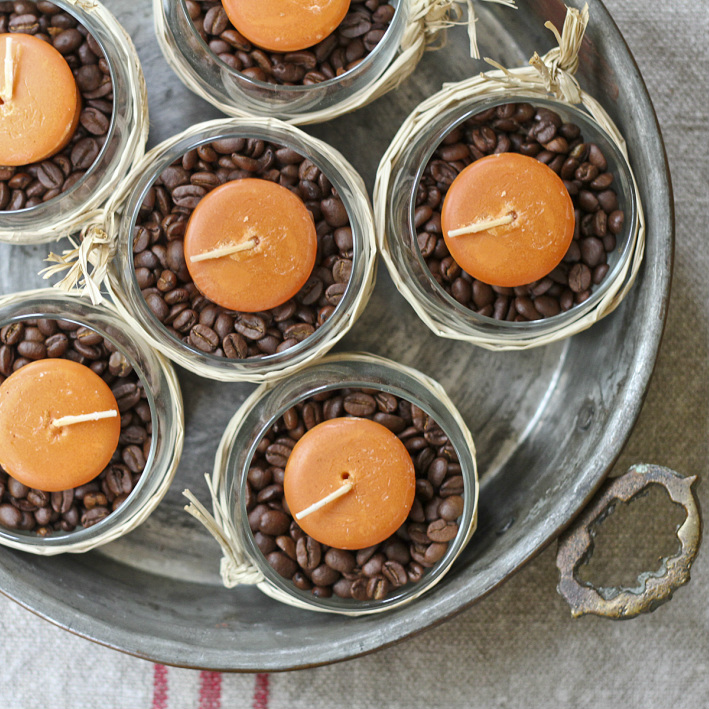
Below: Flower pot cake stands (topped with pumpkin doughnut muffins). 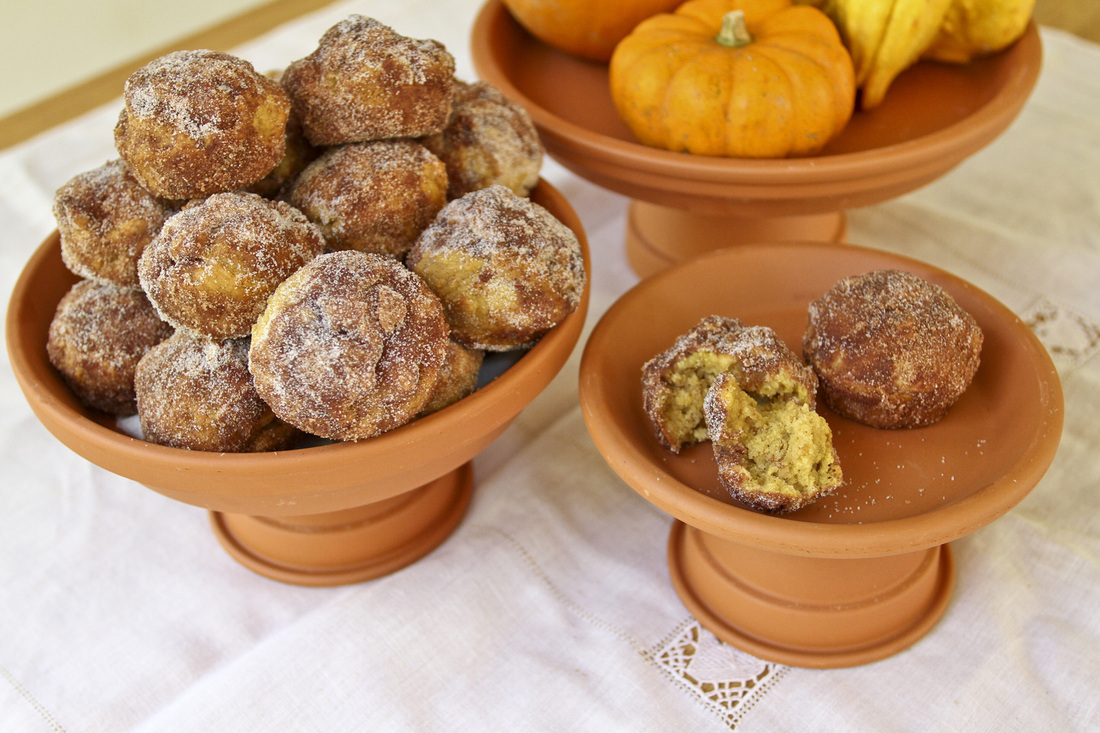
Below: Yarn wreath with felt flowers (with or without a number or letter for a birthday celebration). 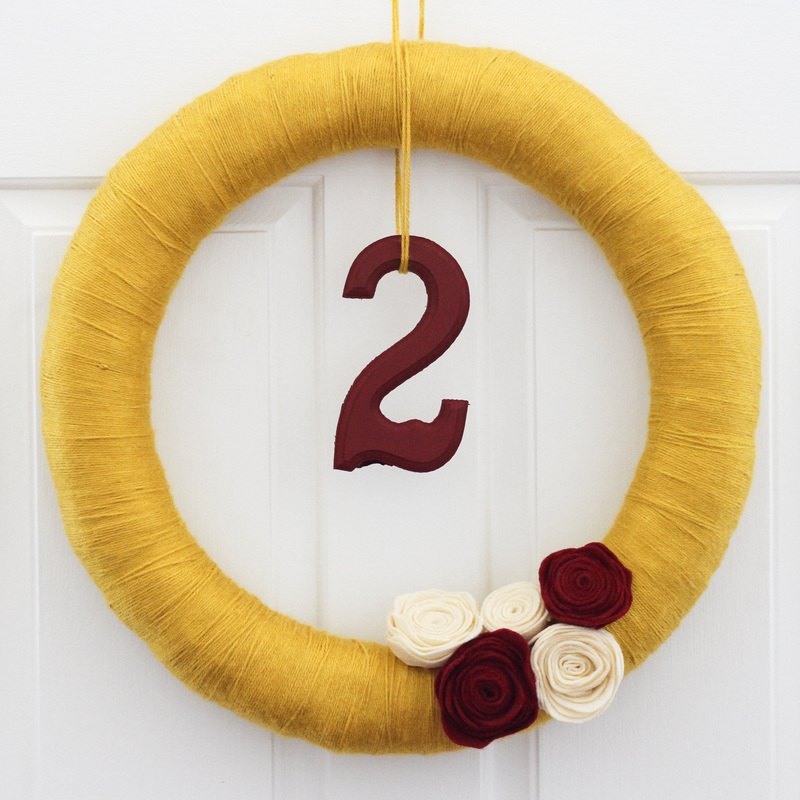


Click here for more DIY ideas.
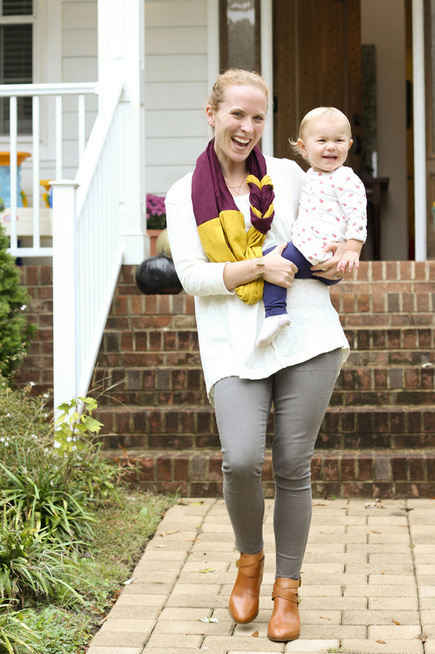 Welcome to scarf season. This pin for a DIY braided scarf caught my eye a few months ago, and I decided to make one for my sister's birthday (and one for me, of course). It was a...learning experience. Sewing is not my strong suit, people! Thank you to my lovely sister, Meg, for modeling the scarves. As we were shooting the photos, the front door kept opening and, one by one, my girls and niece appeared looking for their mamas. "Hey, here's proof you can even provide childcare while wearing this scarf!" Meg exclaimed as the girls climbed all over her. For the scarf pictured above and below, I used an inexpensive linen blend in honey and potent purple. The fabric turned out to be a bit scratchy—no more scratchy than wool but not exactly soft. The linen was much easier to work with than the jersey knit suggested in the original pin, however. 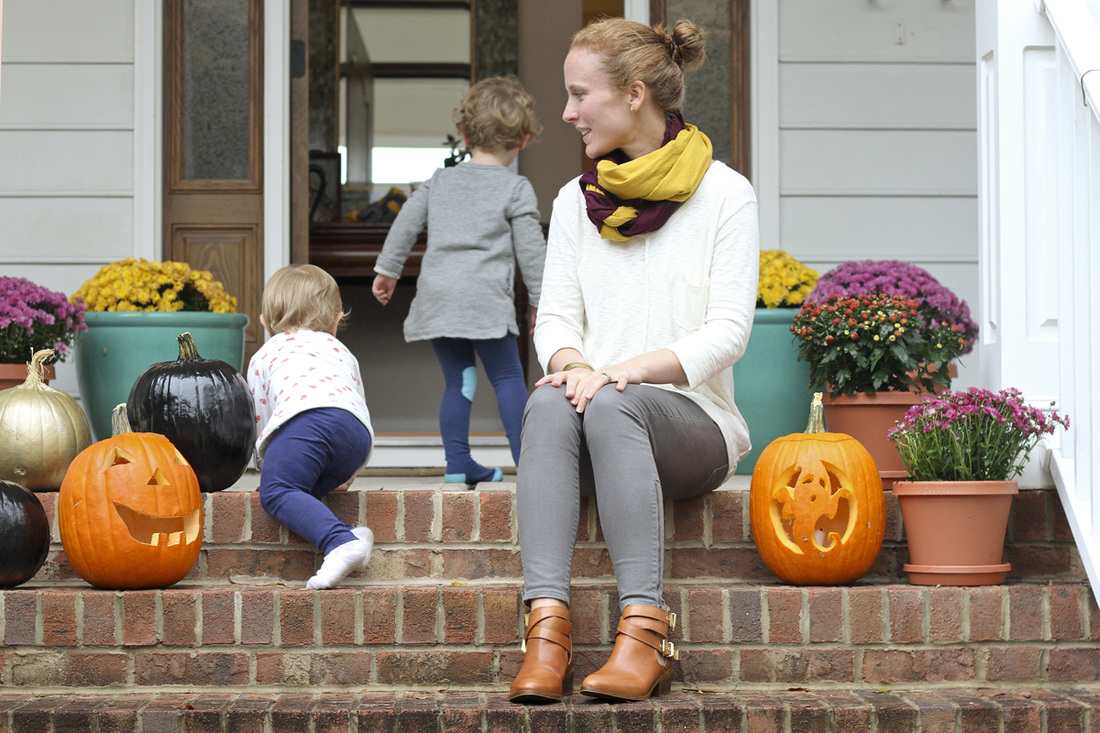 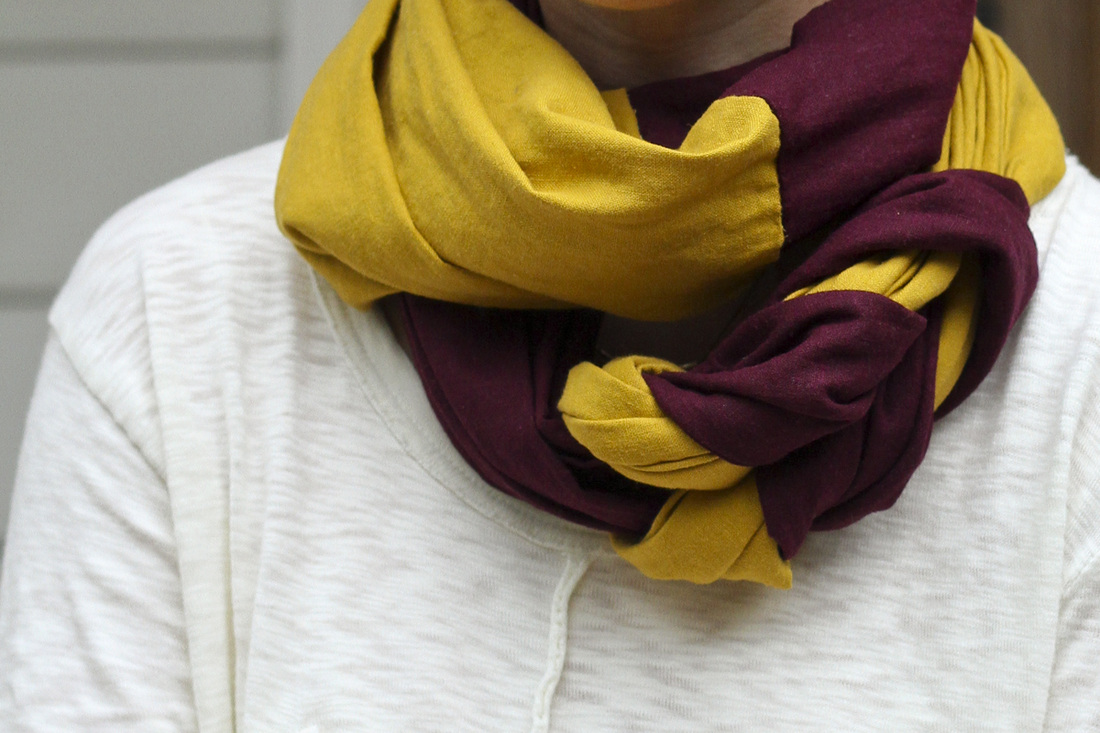 I liked the color combination from the pin so much that I replicated it using these yellow and grey jersey knits (below). This was my first experience working with stretchy jersey fabric. It was challenging; the ends curl and you have to be careful not to stretch the fabric as you sew or it will end up pulled (and terrible). But the material is soft and comfortable to wear. 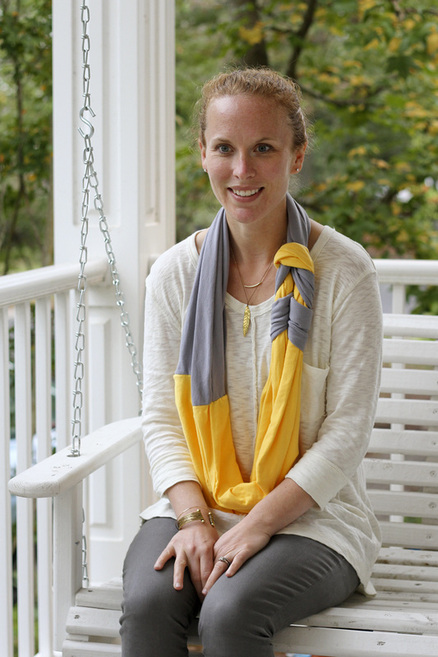 Overall I’d say the scarves turned out well—if you don’t look too closely at my blind stitching! Interested in making your own braided scarf? Here's the tutorial. 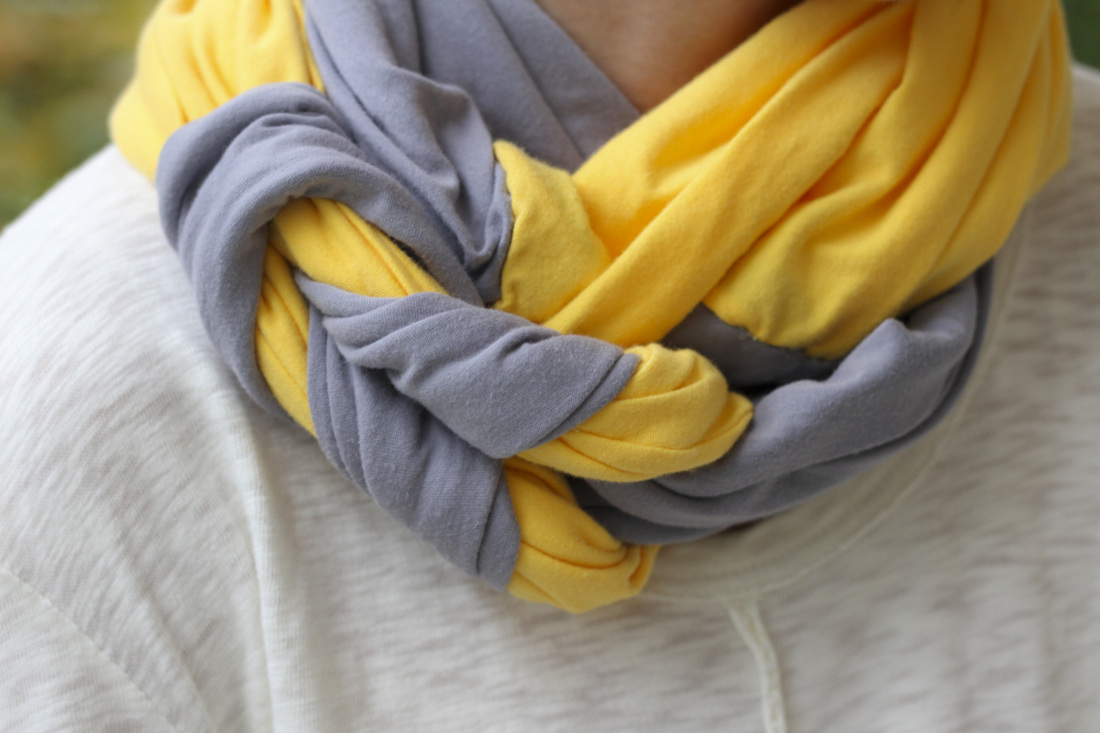 Click here for more DIY ideas.
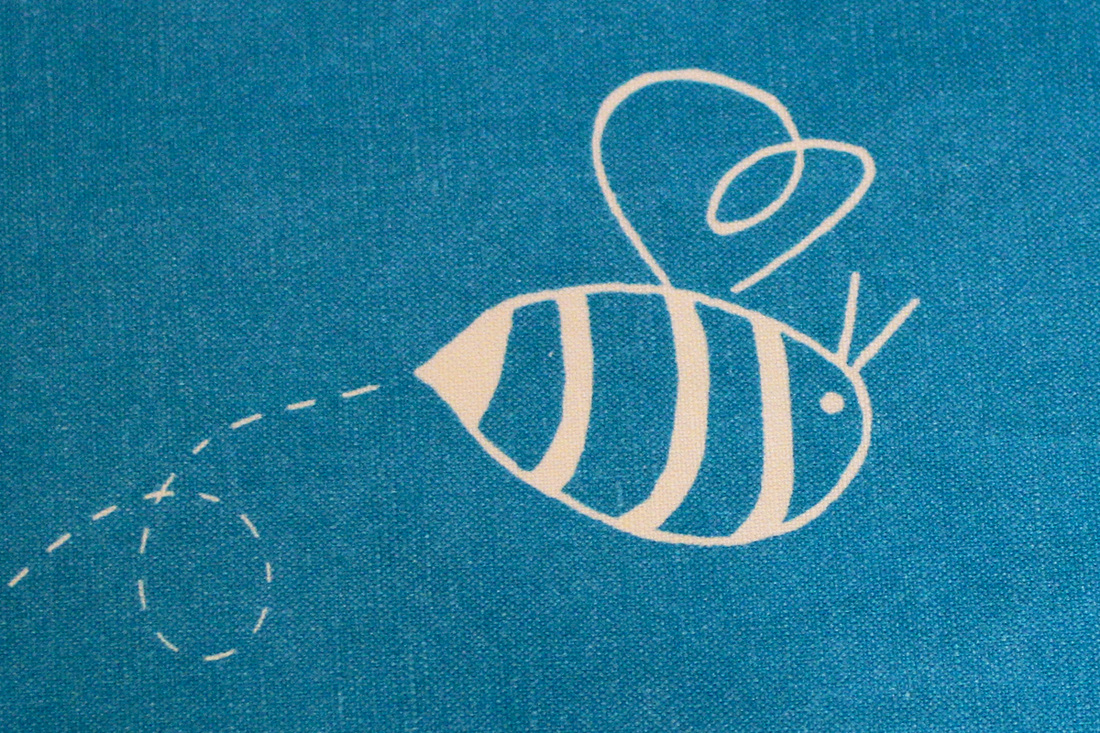 Remember Nora's bumble bee birthday invitation? I converted my sketch into two complementary fabric designs, which are now available on Spoonflower. Above you'll find a close-up of the larger print custard bees on turquoise. Below you'll find the sketch of the smaller print turquoise bees on custard. 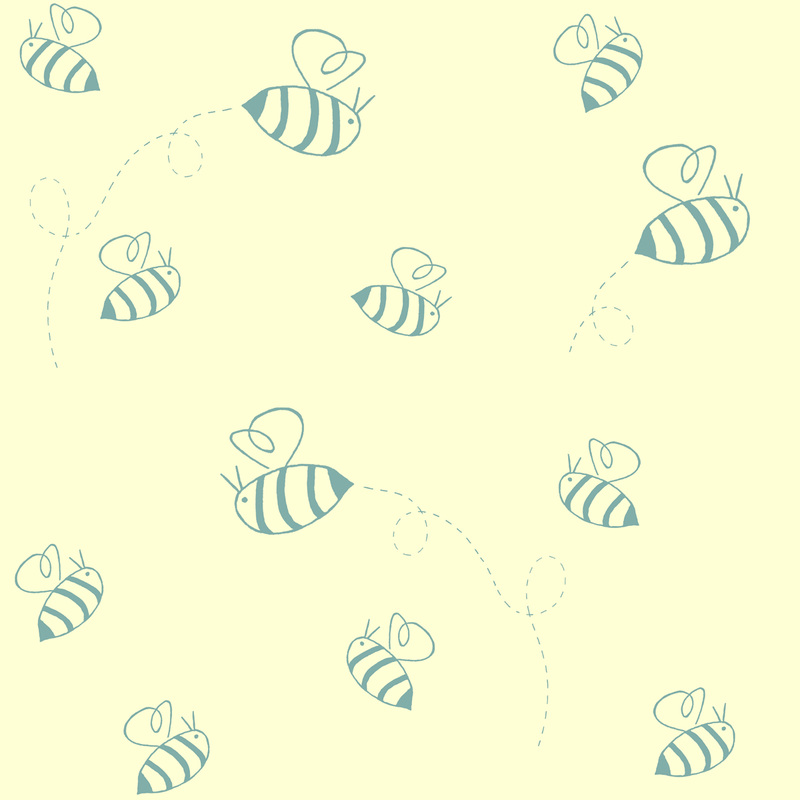 Want to make your own buzzing bees tea towels? Order a fat quarter of this and/or this fabric in cotton-linen canvas (27 x 18 in.), trim and hem the edges. If you make something with any of my fabrics, send me a photo and I'll post it. Happy sewing! 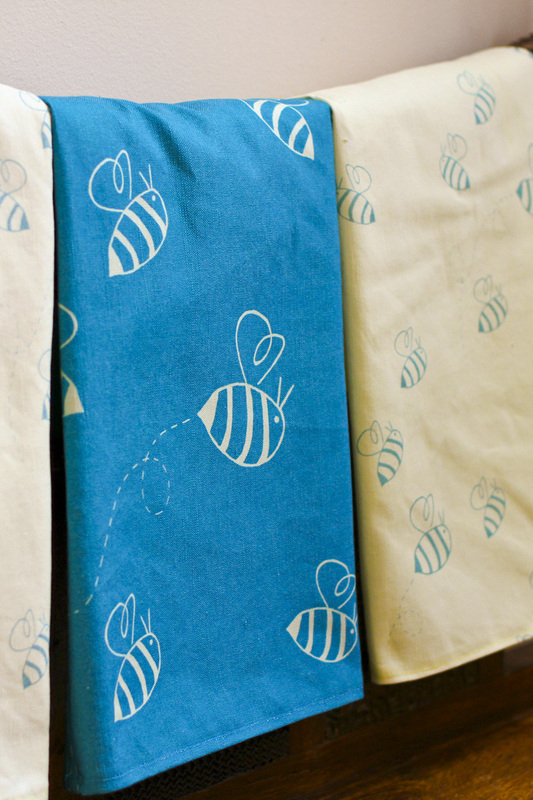  My first sewing machine arrived a few weeks ago, and things have turned quite domestic around here. It took me an entire evening to figure out how to spin a bobbin and another to thread the needle. (Those diagrams are a nightmare!) Then I got to work on the most basic project I could think of: tea towels. But let me back up for a moment. Remember that sweet little lavender farm we visited a few months ago? Well I bought a few lavender-themed birthday gifts there and decided to design a tea towel to go along with them. I sketched the design on my iPad, finished it in Photoshop and uploaded it to my (new-ish) Spoonflower shop. To make your own lavender tea towel: order one fat quarter of the design here in cotton-linen canvas (27 x 18 in.), trim and hem the edges.  |
My new book is out! Click to learn more about it.
Hello there
I'm Julia Soplop, writer and photographer. I believe there is something profound in bearing witness to moments of joy and pain in others’ lives. My husband, three girls and I live outside of Chapel Hill, NC. You can read more about me here.
Snag my new photo curriculum for kids!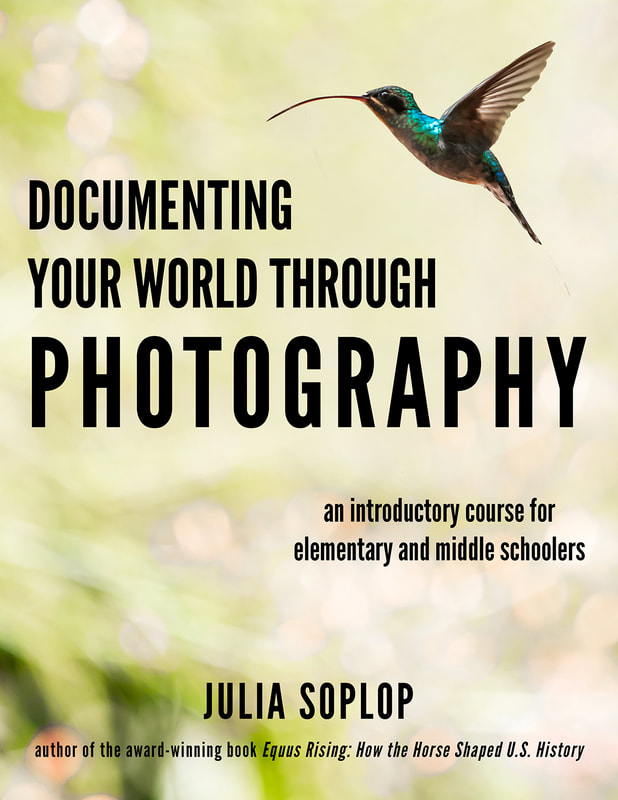
Categories
All
Popular posts |